- No Obligations
- Stop Paying Too Much For Your Contractor
- No Spam Calling
- Screened & ID Checked Contractors only!
How to Install a Storm Door: Guide and Video Tutorial
0
 How to Install a Storm Door: Guide and Video Tutorial
earlyexperts.net
How to Install a Storm Door: Guide and Video Tutorial
earlyexperts.net
It is hard to imagine a time before the storm door. What would homeowners do to air out their breeze ways and mud rooms? Just invite the bugs and rodents right on in?
Perhaps they just kept those big, wooden doors closed year round. That’d keep the insects out, for sure, but what about the draft?
Storm doors serve both of these purposes, that is why for most homeowners, they are as fundamental and necessary as the main door itself.
But make no mistake, the storm door takes a beating, and might have a slightly shorter life span than you might have originally thought. It is a good thing then, that replacing them is not too big a job for the average Joe or Jane.
Selecting the Door
The pinpoint the size of the storm door you will need, simply measure the main door, both height and width. Thirty-six inches is the standard size for most front entry doors, so it should not be too hard to find the size storm door you will need.
Most storm doors on the market are reversible. This is a strange way to describe a door, we know, but it is actually a wonderful little nuance to storm doors that make them so user friendly and their install so accessible.
Because of the reversibility, you don’t need to worry about what side of the door jamb your hinges are on. You can match with your main door fairly easily, or flip flop it (if you are into that sort of thing).
Most storm doors are mounted on Z-bars. Sometimes these come preinstalled to your storm door and sometimes not. It really isn’t a big deal to mount yourself, however, if you are looking for a more seamless install, streamlining the process with a preinstalled Z-bar is a good idea.
Tools and Materials
Here is everything you will need to complete the job, start to finish:
Tools
- Flathead screwdriver
- Phillip’s head screwdriver
- Caulk gun
- T-square
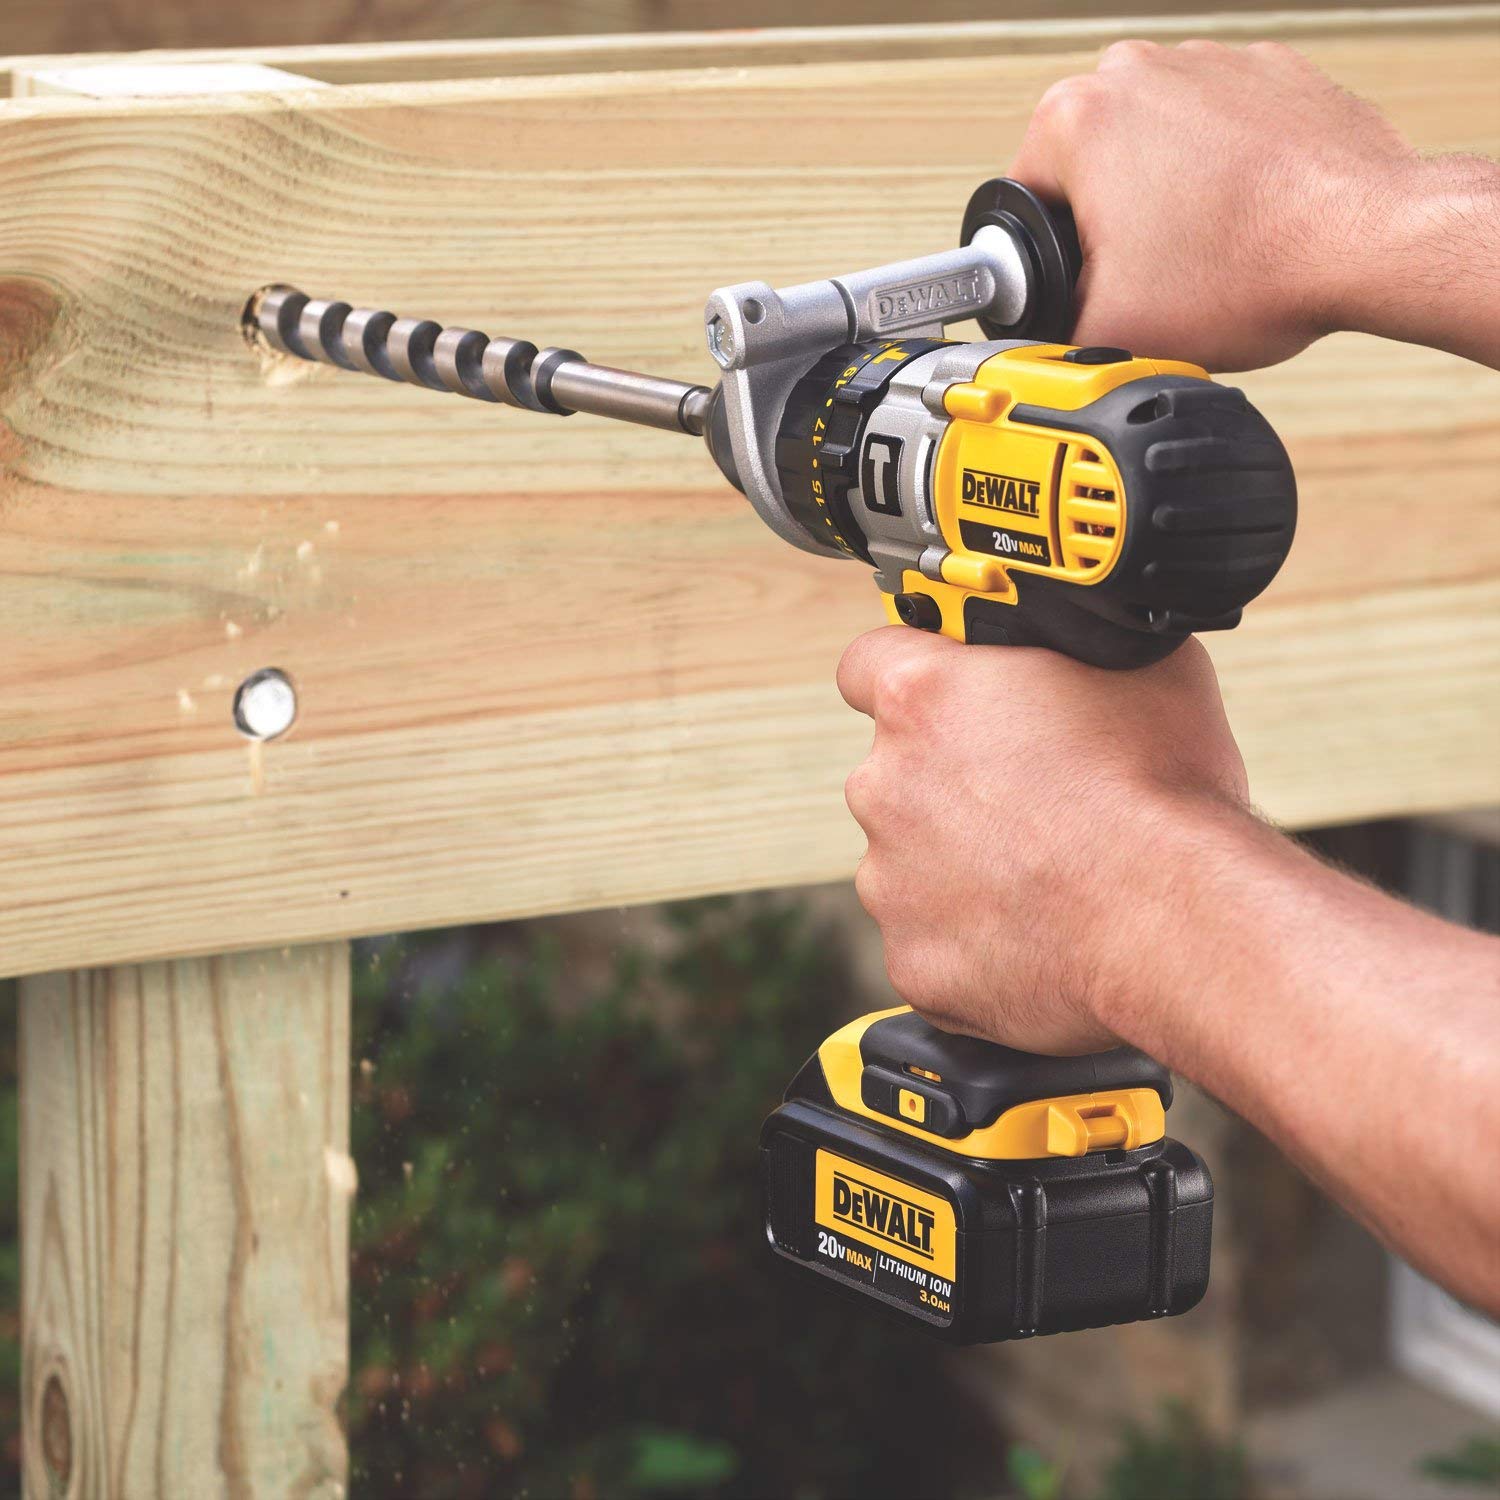
- Cordless drill
- Hacksaw
- File
- Hammer
- Level
- Pliers
- Utility knife
- Chisel
Materials
- ¼ inch furring strip
- Exterior caulk
- Exterior paint
- Storm door components
Before you Get Started
First, it is important to make sure the storm door package has all of the necessary components you will need in order to complete the installation.
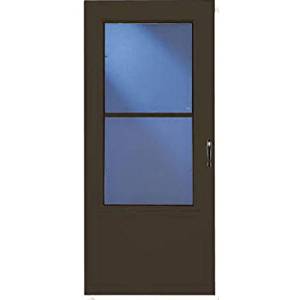
LARSON 83001042 83001 36 BRN Storm Door
Open up the box on a flat surface and take out all included parts. Double check that everything is there, and also that each part is in tact. Be sure there are not specialty tools you will need.
If everything is there and in working order, you will need to decide on the hinge direction of the door. Generally speaking, the door hinge of the storm door should match that of the main door. There are some exceptions, however:
- If there are fixtures on the side of the entryway the storm door would open to if hinged the same way as the main door.
- If there is an adjoining wall or porch rail on either side of your entryway, you will want the storm door to swing against it.
- If the entryway is such that wind is invited to the side the door would open to if hinged to mimic the main door.
Out with the Old
To remove the old storm door, simply unscrew the mounting screws. There should not be much more than that keeping the door in place. In some cases, there will be attached points at the closer and safety chain.
In other cases, there is caulking between the frame of the storm door and the door casing. Caulk acts like an adhesive in this scenario, and so the storm door frame will need to be pried away.
Scrape away the residual caulk. You may use a cleaner like Goo-Be-Gone to help clean up. If caulk is gunked up along the entryway in large gobs that have hardened, you can use a heat source like a blow dryer or heat gun to soften the material and scrape it away more completely.
You can get a better sense of what this process might look like here!
Prepping the Opening
Your storm door will have from the door trim or exterior casing. If you are putting on a storm door for the first time, you will have to build out the door’s trim. This is the worst case scenario and will require some carpentry skills as you rip trim to match the thickness of other nearby trim for continuity’s sake.
If your entryway needs paint, now is the time. Once the trim and storm door are hung it will be much more difficult and require a certain level of precision to touch up the entryway around the trim, door, and other components.
Your storm door will likely be about a ¼ inch narrower than the door opening. This is to ensure the door fits. It also means you will need to center the storm door before hanging and apply a furring strip to fill the left over space.
Do this on the side of the hinge. If there is still space, you can also add furring to the latch side. To make for a perfectly centered door, measurement is key.
Measure edge to edge on the entryway, both across and up and down. Then, take the same measurements on the storm door itself. The difference is the amount of furring you will need. If it is ¼ inch, then one ¼ inch piece will suffice. A ½ inch will mean two pieces, one on the latch side and one on the hinge side, as mentioned above. In some rare situations, you may have to do the same for the top and bottom of the door.
Watch this video for a visual guide of a similar process!
Install!
Mount the storm door tight to the hinge side trim. You can use a flathead screwdriver or chisel to pry the latch side toward the hinge side for a better fit while you work.
Once that is squared away, follow the instructions for the door latch and Z-bar system. These vary and cutting the Z-bar can be a bit tricky. In a perfect world, the Z-bar is centered on the latch and lock. Try and get a sense of where these align. If it is a bit off center, that is okay, as long as it locks smoothly.
Here is the full process start to finish by This Old House!
Conclusion
While each storm door system varies, the principles of each are the same. Follow the steps above for easy removal, clean preparation, and sound install best practices. As with anything in life, and especially DIY, once you remove and hang one, you’ll be well poised to take on the rest of your home’s entryways without much trouble.
Most Read


10 Home Checks to Make Before a Vacation
Apr 06, 2021

How to Whitewash Wood: Quick Tutorial
Apr 06, 2021