- No Obligations
- Stop Paying Too Much For Your Contractor
- No Spam Calling
- Screened & ID Checked Contractors only!
What to Do If Your Window Leaks
0
 What to Do If Your Window Leaks
earlyexperts.net
As the weather cools off, it is more important than ever that the windows in your home are sealed tight.
The cold draft that sneaks through closed windows from November to February is not only uncomfortable, but detrimental to the fuel efficiency of your home. In fact, old or aging windows are some of the biggest culprits for wasted heat according to energy audits.
What’s worse though, is if your drafty windows also leak moisture. This can add the inconvenience of inevitable structural damage caused by the leak, especially if you don’t try to quell the issue right away.
While ultimately, leaky windows will almost certainly have to be replaced, there are some ways to get you through at least a few winter seasons without spending thousands just to get and stay warm.
In this article, we talk about some temporary options, including reglazing, recaulking, and plugging the drip in the window frame.
Reglazing
Glazing compound is the material that sits at the edges of each window pane, essentially holding it in place. On larger, single paned windows, the glazing is stronger. This is because each bead is in theory continuous.
If there are multiple panes on your windows, which is typically the case on older homes, then the glazing will likely be weaker and vulnerable to drafts and leaks. In fact, your pane glass may be very loose without you even knowing!
Lucky for you, glazing is fairly easy to replace.
Using a putty knife, chip off all of the old glazing. Be careful not to remove the small triangular points that are the last line of defense keeping the pane from falling out.
WIth the glazing removed, lightly sand the inside of the frame around each pane (where the glazing was), then wipe the dust clean with a dry rag.
It is a good idea to use some computer duster to ensure no dust settles into the crack between the glass and the frame. If it does, your new glazing will not hold up as well as it could.
Once the frame and glass are prepped, scoop up a good chunk of fresh glazing compound. Roll it around in your hand to make the material more pliable, eventually forming it into a long, thin bead that will be pushed into place along the edge of the glass.
Press you putty knife along the fresh bead of glazing, holding it at a 45 degree angle so that the material is spread evenly along glass and frame. Repeat this procedure for all sides of all panes, then let the compound harden for about 10 days. Once it has fully cured, you can coat it with an oil based wood primer to help further seal the glazing from moisture.
PRO TIP: If the glazing is not coming up easily, try using a heat gun or a blow dryer on the area. The heat will soften the compound so that it is more manageable.
Recaulking
If you have gone through the glazing process and your windows still seem drafty or to let in water, then your next logical option is to assess the state of caulk.
Caulk operates much in the same way that glazing compound does. The major difference between the two is that while glazing seals the individual panes of glass that comprise the window to the inner framing, caulk seals the encompassing shape of the window to the outer wooden frame, and the outer wooden frame to the house itself.
To replace the caulking, start by peeling back all loose caulk. You may need to employ your putty knife for this, but once you have an edge pried up, it is fairly easy to pull the rest up in one fell swoop.
After the bulk of the caulking is gone, scrub the window, especially along the caulk line, with some sort of detergent or degreaser. This ensure that there is nothing to get in the way of the new caulk adhering and sealing.
Once the window frame is clean and dry you are ready to apply fresh caulk. Loading the caulking gun itself is a bit of a skill. Make sure to cut the tip of the caulk tube at a 45 degree angle. There are typically lines marked on the plastic tip that you may follow.
Once cut, you will need to puncture the seal that sits beyond the tip with a nail. Use a 16d nail so as to make sure you have broken through, otherwise you are in for a world of frustration as you pull the trigger and nothing seems to rise to the surface.
Lay a continuous bead along the joint between the window and the outer frame, and the outer frame and the house. Try not to start and stop on one run to avoid any bubbles from forming. With the bead laid out, use a clean, dry finger to smoothen the caulk. This is often referred to as “tooling” the bead.
Repeat the process everywhere the window butts up to the outer frame and the outer frame to the window, then let dry.
PRO TIP: Any caulk will serve the purpose of sealing the window including silicone, polyurethane and polysulfide. If you plan to paint over the caulk, however, be sure not to use silicone.
Leak in the Window Frame
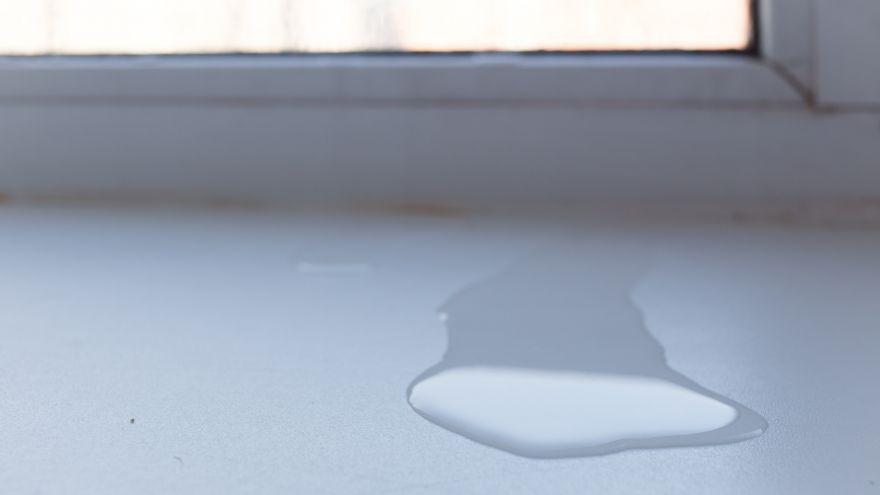
So you have reglazed and caulked and still there are small pools of water on the inside sill when it rains and steady flow of cold air sneaking into the house when it does not. This is a clear sign that the problem is actually the window frame itself.
The tricky part here is locating the leak. Guess and check is probably the best bet. Have a helper spray a garden house in a steady stream (not a mist) at various spots on the outside of the window until you can see the source of the leak.
If no leak shows on the actual window frame, but moisture still finds its way in along the drywall close to the frame, then it is likely the leak is at the edge of the frame. This means removing some sheet rock.
Pry the trim from the leaking area to reveal whatever crack, chip, or rotted wood is providing easy access for cold air and water inside your home. From here, it is just simple wood patch work.
Use a putty knife the chip away loose material and sand flush. Then, fill the damaged area with an epoxy wood filler. If the compromised spot is out of sight, there is no need to sand and repaint, but if it sits on the visible frame itself, make sure to let the epoxy dry fully dry before sanding flush and repainting.
PRO TIP: If you end up doing a full repair that includes the removal of window trim and drywall, be sure not to cover the weep holes that sit underneath the sill. These serve the purpose of allowing condensation to drain to its rightful place.
Conclusion
Hopefully, your drafty, leaky windows are easily sealed with some new glaze compound or caulk. In the worst case scenario, some light carpentry work will keep you warm and dry for the time being. Ultimately, though, these are not permanent fixes.
When you start to notice the seals in and around your windows weakening, we recommend replacing them gradually to avoid the high cost. Windows are also not an unreasonable DIY job, but replacing a whole home’s worth may be overwhelming to someone who does typically spend their days doing so.


