- No Obligations
- Stop Paying Too Much For Your Contractor
- No Spam Calling
- Screened & ID Checked Contractors only!
How To Remove Ceramic Tile From A Concrete Floor
0
 How To Remove Ceramic Tile From A Concrete Floor
earlyexperts.net
Concrete makes an excellent base for ceramic tiles, a durable material often laid in areas where water can collect, such as in bathrooms, kitchens, and foyers. When it is time to replace the floor, removing the tightly bonded material is time-consuming and challenging. Because ceramic tile is thick, adding another layer of material atop it would make it difficult to close doors while being a tripping hazard between rooms, so removing tiles from a concrete slab is a necessary step before re-flooring.
There are just a few steps to the process:
-
Chisel away each tile
-
Scrape the remains from the concrete
-
Remove old adhesive.
Tools You’ll Need For The Job
- 2″-3″ Cold chisel
- Dust mask
- Electric tile stripper
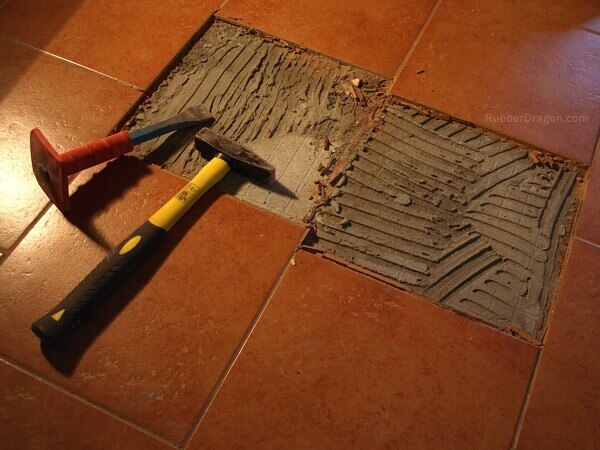
- Hammer – preferably a drilling hammer or a mini-sledge hammer
- Hand maul
- Pry bar
- Flat shovel
- Jackhammer
- Knee pads
- Safety glasses
- Work gloves
- Shop vacuum
- Trowel
For a small job, continually hitting a chisel with a hammer can do the job. Renting a jackhammer or an electric power stripper can make the process quicker. Rental can add $50 to $150 per day to your ceramic tile removal project, but it will be worth it in time and energy saved, especially for a large room.
Preparing For The Job
With tools on hand, removing the baseboards and trim, any furniture or accessories, and anything that sits on the tile, such as floor vents, cabinets, or toilets, is the first step. As removing tile from concrete is messy and requires an impact hammer, anything else in the room should be removed or covered.
Tile removal is a job that requires safety glasses or goggles, a dust mask, work gloves, pants, and a long-sleeved shirt, and knee pads to wear throughout the project. If any power tools are used, having ear protection on hand will protect hearing.
As the process generates large amounts of dust and tile shards, a shop vac should be nearby for use as the tile removal progresses. A low-tech combination of a shovel, broom, and dustpan is handy for gathering up the bigger tile pieces.
How To Remove Tile From Concrete Floor – Steps To Follow
1. Pick a Place to Start Chiseling
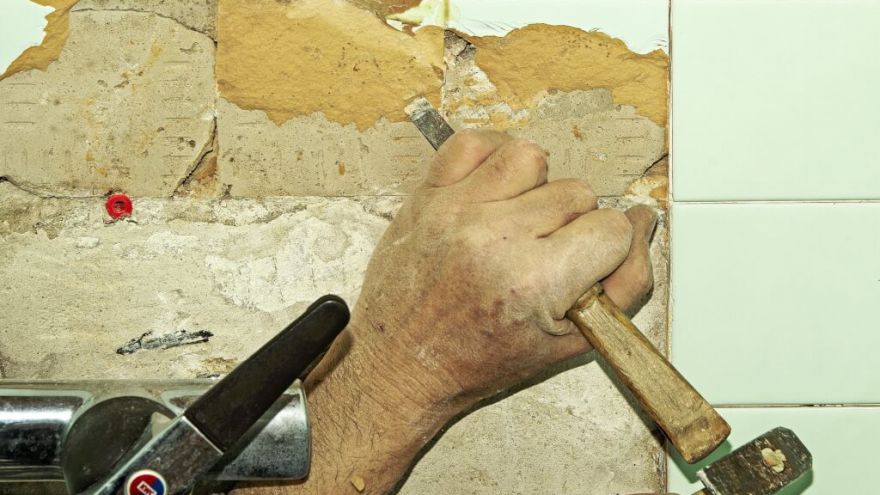
To remove the tiles, you work the chisel between the title and the concrete base and start pounding with your hammer to loosen the tile. If there are loose tiles or grout, you have a good starting point. If not, place your chisel into the seam at an angle and hit the end with your hammer to loosen the tile or strike a tile face to break it up and give you leverage to get under each tile. Depending on the adhesive used to attach the tiles, the process may be more or less complicated; tiles affixed with mastic adhesive are easier to pull up than those set with thin-set mortar.
Keeping the old tiles intact will make removal and cleanup easier and prevent damage to cabinets if they were not removed from the room. If you can angle the tiles upward, using a flat shovel or bar, you may be able to pull the pieces up whole for easy disposal.
To prevent excess dust and flying tile fragments, you can cover the area you are working with a towel.
2. Keep On Chiseling
Ideally, you will develop a rhythm once you start the job as adjoining tiles come up. If hand-chiseling becomes too tedious, or if your space is large, consider renting a small jackhammer or a stripping machine. Using power tools will cut hours off the job, which is a big deal as there is plenty more to do once the layer of tile is gone.
While your objective is to remove the old tile, you should use no more force than you need to do the job. You want to do minimum damage to the old floor.
Without power-assist, even a small bathroom can take half a day to complete by hand, while you should plan on a day or more for large spaces.
3. Removing Thin-set and Adhesive
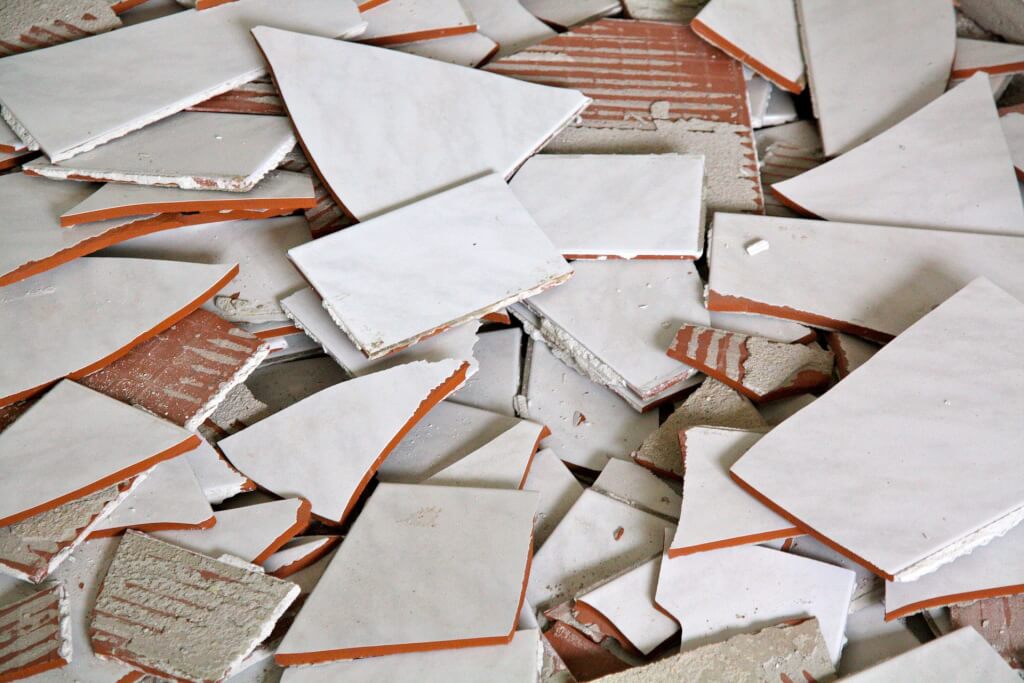
Once all the tile is removed, the remaining concrete floor will be covered with tile pieces, dust, and debris. Before trying to remove old adhesive, sweep the area of large pieces of tile and then let your shop vac suck up the rest of the waste.
The next step is to scrape the mortar and adhesive that held the tile in place. How you do this depends on the adhesive. Mastic adhesive is water-soluble, so placing wet towels over the glue will soften it and make it easy to scrape away. If you keep the adhesive wet, with towels placed ahead of where you are working, you can remove the adhesive at a steady pace. Alternatively, pulsing a jackhammer against the adhesive will remove it as well.
On the other hand, Thin-set mortar requires more effort to remove as it is hard and brittle and requires chiseling to remove it; a power tool can come in handy to expedite the process, which can be more labor-intensive than removing the tile. Inevitably, the floor will chip during adhesive renewal and require patching. Some flooring experts even suggest applying a new layer of thin-set mortar or self-leveling concrete over the floor and smoothing it out to provide the best foundation for new flooring.
If you plan to put down new ceramic tile, the adhesive removal need not be complete but can be smoothed out to a layer no more than 1/8″ thick. Other floor types require a perfectly level base, so a mastic remover scrubber will do the job.
After a final cleanup to remove all dust after removing ceramic tile from a concrete floor, you are ready to install new floor coverings.
Should You Tackle This One Yourself?
Removing ceramic tile from a concrete floor is not difficult, but takes time to do right. Professional removal costs an average of $3.25 per square foot. There is usually a minimum charge for small rooms and a higher cost per square foot for cramped spaces where the title is harder to get.
DIYers who take on the job will need to invest in the tools they need by buying or renting them, which will up the cost – especially when considering the time and effort involved. However, the job is doable by most homeowners.


