- No Obligations
- Stop Paying Too Much For Your Contractor
- No Spam Calling
- Screened & ID Checked Contractors only!
How to Fix Wood Rot: Tips and Materials to Use
0
 How to Fix Wood Rot: Tips and Materials to Use
earlyexperts.net
How to Fix Wood Rot: Tips and Materials to Use
earlyexperts.net
From door and window jambs to outdoor furniture, wood rot can not only be unsightly, it can compromise the integrity of the structure it has infiltrated.
Would can only begin to rot in a very specific environment marked by two things: moisture and warmth. This tends to happen more readily to naturally treated wood when certain elements of the wood’s makeup begin to decay and break away.
When wood is pressure treated, the wood rot process is much slower, and in many cases, pressure treated wood will last 10-15 years without any signs of rot. Ultimately though, all wood will eventually begin to soften and flake away in isolated areas that need to be addressed immediately.
In this article, we outline the best way to treat wood rot in its earliest stages. We’ll share protips for the process and our favorite materials to keep your outdoor wood elements standing the test of time.
Tools and Materials
The first step in any DIY process is to have the necessary materials gathered for the job. Here is what you will need:
- Paintbrush
- Putty knife
- Rasp
- Sanding block
- Utility knife
- Wood chisel
- Sand paper
- Polyester filler
- Sandpaper
- Wood hardener
Using Wood Filler
Using wood filler follows much the same process as applying compound to drywall or using two-part filler in auto body work. There are many different types of wood filler products, and generally there is not much difference between them in terms of how they are applied and their uses.
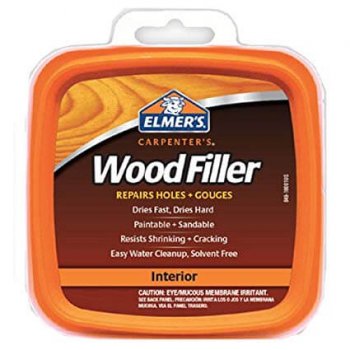
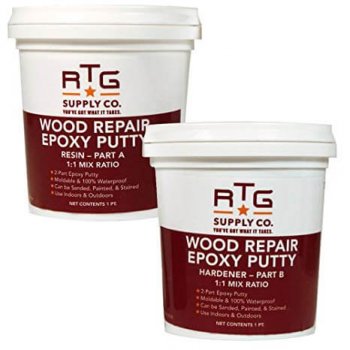
In this case, though, we will be discussing a polyester filler, which is applied in two parts just as would be done if using an clear epoxy. The major difference is that instead of using an epoxy consolidant, you will start with a wood hardening agent.
One problem with polyester is that the repaired area tends to sag a little if you are repairing any overhead surface. One way to avoid this is using a form, or some sort of implement to press the filler into shape while it is drying.
Step by Step
✓ Clean up the rotted area using any of the sharp tools listed in the tools and materials area above. You will need them all as you never know what angles you may need to hit to thoroughly clean the rot.
✓ Coat the rotted portion with wood hardener using a regular thistle paint brush. This will work on improving the overall strength of the wood surrounding the rotted area, which has most certainly been weakened considerably and is itself on its way to decay.
✓ Once the wood hardener has dried, load up your putty knife and press your polyester filler over the affected area being sure to fill gaps and holes in the wood from where you have cleaned away decay so that it is flush with the rest of the wood.
✓ Shape and smooth with more putty as necessary. For first coating it it good to apply liberal amounts of putty, but as it dries it may be difficult to tell gauge how completely you have filled any recesses in the wood. Try and create a flush finish that is densely compacted in the area that has been cleaned. If anything, the level of the filler should dry just slightly above the natural plane of the good wood around it.
✓ From here, you can begin to sand and finish as you see fit! Always use finishing sandpaper, something with 150 grit or more. 60 and 100 grit will flake away large chunks of filler, especially if you have begin the finishing process before letting that filler completely harden.
Conclusion
You do not ever have to concede to the fate of your wood when rot sets in. Especially if the decay takes place somewhere on the face of your home, like those front deck steps, or the window jamb on the first floor openings, you will want to intervene quickly, and save your wood finishings before it’s too late.
There is no reason why this quick fix cannot be mastered by any and all level of handymen. Simply follow the steps above for a seamless Sunday project that will keep your home’s wood finishings looking brand new.
Most Read


The Most Inefficient Home Appliances!
Oct 25, 2024

Bedroom Plants That Improve Sleep
Oct 25, 2024