- No Obligations
- Stop Paying Too Much For Your Contractor
- No Spam Calling
- Screened & ID Checked Contractors only!
How to Measure for Replacement Windows: Practical Tips & Video Guide
0
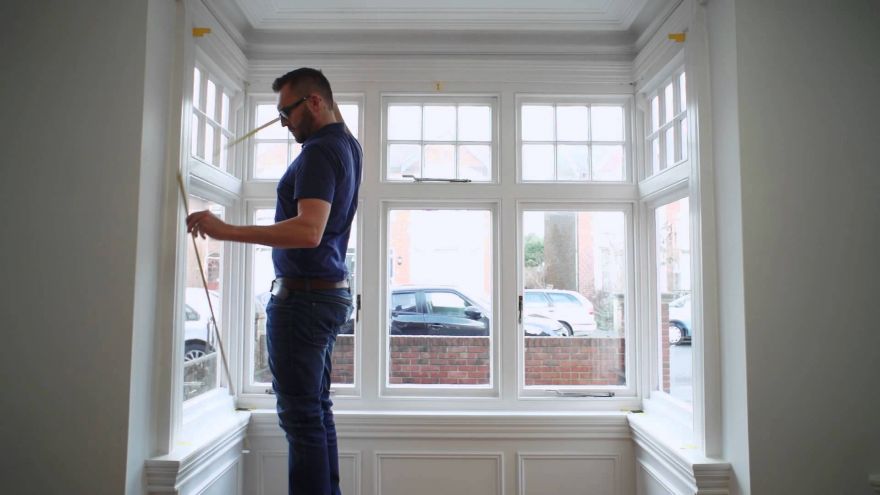 How to Measure for Replacement Windows: Practical Tips & Video Guide
earlyexperts.net
Whether your windows are damaged, warped, broken or just downright drafty nothing makes over the face of your home quite like new windows. Better yet, dated widows are an ideal escape for valuable resources like heating and cooling. When this begins to happen, the investment in new windows is a no-brainer, well worth every penny spent, if not on curb appeal than certainly on energy costs.
Sure, you can call a professional in. He or she will come right to your door to measure, fit, and sell you on the latest model windows with all the bells and whistles. That said, with a dash of knowledge and a little attention to detail, there is no reason why you can’t get all the specifications and measurements you need to make a window purchase without having to call in an expert.
Read on for a step by step guide on taking window measurements (plus some informational video guides)!
1. Measuring the Window Opening
For each window, you plan to order, be sure to take all of the following measurements. Be conscious of the start and end point of each measurement.
To Measure Width:
To take the width of the window opening, you will need to measure at three points: top, middle, and bottom. Measure between the window jambs. The jamb is the inside surface of the opening.
It is hugely important that you do not confuse the window jamb with the trim around the window. Measuring from the trim will result in measurements for a new window that is far too large for your home’s window openings.
Take all three measurements twice. Whichever distance (top, middle, or bottom) is the shortest is the number you will use to order the new window.
To Measure Height:
In order to determine the height of the window opening, measure from the top surface of the sill to the top jamb of the window opening called the head jamb. The window “sill” is a commonly mistaken term. Often we associated the sill with the wood piece on the inside of the house that extends into the room. However, the sill is actually the bottom-most point on the inside of the windows opening, where the window itself touches when sealed completely closed.
For the height, you will take a measurement between the middle and left edge of the opening and another between the middle and right edge. Again, use the measurement that reflects the smallest distance when ordering the new window.
To Measure Depth:
To find the depth of the window opening, measure across the inside at the bottom of the window opening between the two stops. The stops are the pieces that extend in front of the window frame.
Eyeball the depth opening for what you believe to be the deepest point. If the distances seem marginally different at best, take multiple measurements as you did with height and width and record the longest distance between the inside and outside stops.
A problem emerges with measuring window depth when you are unable to open the existing windows. In this case, measure the space that is left on each side (inside and outside) the window and add them together. You can then add in the glass pane by estimating around ⅛ of an inch or 3 mm.
For depth, your numbers do not have to be quite as precise as the height and width. This is because there is a minimum depth requirement of 3 ¼ inches. As long as your opening depth is greater than this, your replacement window will fit.
For a more detailed look and visual aid capturing all of these measurements, tune into this video:
To Determine Shape
While the distances of width and height should be a giveaway as to the shape of the window opening, it is also helpful to take diagonal angle measurements. This will allow for you to distinguish between rectangle, square, or most importantly, a “racked” or unevenly shaped window.
Measure from the inside corner at the top left of the window opening. turn the tape measurer on its side so that you can fit the tape into the corner. Pull the tap all the way across and down to the bottom right corner. Repeat this process with the top right and bottom left corner.
If your window proves to be “racked” you will need to report these measurements to the company with which you are placing the order for your replacement windows.
When Ordering
Be sure that when you are ordering your windows you are clear about where you took the measurements. Some window manufacturers may request your remeasure from various other specific locations. What is more likely is that a company calculates replacement window size using a sizing formula that adds or subtracts fractions of inches to your measurements depending on the specifications of the new windows.
Conclusion
Measuring your home’s window openings for replacement windows is a fairly simple three-step process. To summarize some of the nuances, here are some things to consider:
✓ Always make sure to measure at three different locations. This ensures the most accurate measurement and accounts for the shortest possible distance where a new window is still able to fit.
✓ When measuring height, remember that the sill is the bottom-most point of the window and NOT the piece that extends into the home.
✓ For depth, you want the greatest measurement as oppose to the shortest of the three, which is the one you would have recorded for both height and width.
✓ If your window is racked (not a rectangle or a square) it is hugely important to provide your new window manufacturer with that info.
With those key tips in mind, you should be able to capture near perfect measurements for each of your windows. This will ensure your home is efficient and aesthetically pleasing for years to come.

