- No Obligations
- Stop Paying Too Much For Your Contractor
- No Spam Calling
- Screened & ID Checked Contractors only!
How to Remove Spray Paint from Skin and Surfaces
0
 How to Remove Spray Paint from Skin and Surfaces
earlyexperts.net
Want to add color to a wood pallet craft project? Customizing your vintage decorative luggage with a heart warming message? Covering rust spots or scratches on your outdoor metal furniture? All three of these very unique scenarios will ultimately lead you to the spray paint aisle of your local home improvement store.
Perhaps this is why spray paint has one of the highest purchase volumes of any product in the home improvement sector. Its convenience and practicality are unparalleled by any other paint product on the market.
There are spray paints manufactured for seemingly everything, from high heat surfaces to automotive finishes. But ultimately, what brings people back to the can time and time again is the ease of use. Simply point and spray, right?
Sure, but an unsteady hand plus a small corner can lead to a big mess if the user is not careful. While we would never want to discourage our readers from the glory that is spray paint, we feel obliged to equip you with the knowledge and skills necessary to work spray paint stains out of any and every surface.
In this article, we have covered a bunch, from skin to stone, and everything in between, so that you will never again will you opt for a brush when a can of Krylon will do in fear of overspray.
Skin
First up is the most important surface on the planet: the surface of your body! Your skin.
Spray paint dries fast and with deep color. It does not always flake on skin like other paints will. Of course, this depends on the composition of the spray paint product you are using, whether it is primer, acrylic, or all purpose.
A good rule of thumb when anything leaves a stain, not just spray paint, is to fight fire with fire. That is, if the spray paint that you might as well have dipped your hands in by the looks of them post project is oil based, than soap and water will simply not do.
Try this!
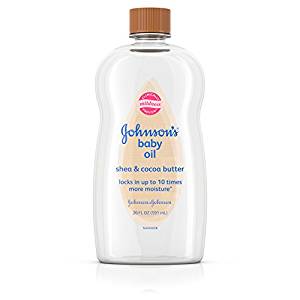
Apply vegetable, baby, or cooking oil to the paint spots. Cooking spray is especially effective because it allows you to target the spots rather than greasing up your whole hands, which might make scrubbing difficult.
Begin to rub your hands together vigorously as if you are washing your them, while still focusing on the stained regions. Eventually, you should feel and see the paint start to thin out.
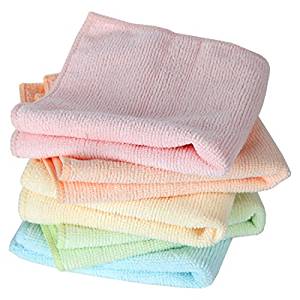
If this still is not getting it done, try a washcloth. The slightly rougher surface may be just what you need to loosen the paint enough so that it begins to peel and flake.
Once the paint stains have thinned sufficiently, wash your hands the conventional way with soap and water to clear off any paint flecks and residual oils.
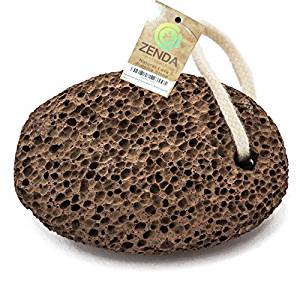
PRO TIP: If even a washcloth proves no match for spray paint stains on your hands or skin, you can use a pumice stone. Pumice bars are typically used by mechanics and other tradesman whose hands take the brunt of their work. It is especially designed for grease and grit. You can find pumice at any local drug store.
Fabric
So your hands are safe, but your sleeve took the hit. Now what?
First, and most importantly, try to the best of your ability to begin treatment while the paint is still wet. That means stopping what you are doing and heading to the sink.
Start by running the garment under cold water to flush as much excess paint off as possible. Then, focus the stream on the stain itself. You will likely be able to remove some of the bulk of the paint that has yet to be absorbed by the clothing item.
Spread the item thin and let the water run through it. You will see the water running through the garment take the color of the paint. Once it is clear again, you’ve gotten all the unabsorbed paint.
What is left on or in the garment, depending on how you look at it, can be treated with hair spray, believe it or not. This is because hairspray contains alcohol, which will work to break up the paint’s bonds. Nail polish or straight rubbing alcohol will also do.
Once you’ve laid a pretty thick layer of alcohol based product on the strained garment, rub it in with a dry cloth. You should start to see color on the cloth. That said, make sure you are using something you don’t necessarily care about to rub out the stain, otherwise you are just precipitating a vicious cycle.
This process will thin out the paint stain even more, hopefully leaving just a faint reminder that anything even took place.
From here, you can return your clothing item to its former self by running it through a wash cycle on cool.

Apply a pre-wash stain remover first for good measure, and be SURE you have the washing machine set to cool water. Warm water will further set the stain and you will be out of luck.
Masonry
When spray paint stains your brick or stone walls, things get a little more tricky. Unfortunately, in these cases, there is less you can do with products from the home. To treat masonry, you’ll need to start with a paint stripping gel, which you can find at your local hardware or paint store.
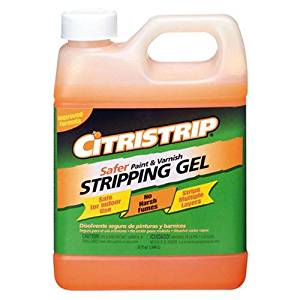
Using protective gloves and a paint brush, apply the gel in a thick layer to the stained surface. Once you have finished, cover the gelled over area with plastic wrap, like the kind you have in the kitchen for covering leftover food items. Be sure all of the gelled area is covered tightly. You can ensure this on a wall by taping off the corners with painter’s or duct tape.
After about four hours, you can remove the plastic and the gel. The stain will remain in some form or another, and you will likely have to pressure wash it to completely remove the paint. This is because of the porous nature of the stone. It will absorb the paint into its top few layers, so removing the stain will mean stripping a layer of stone, essentially.
With your pressure washer, spray the stone at 300 psi from about 2 feet out. Be careful not to get to close, or you will take up more of the surface than you originally wanted, which could leave it completely discolored (even more so than with the paint), or even worse, weakened and compromised. Work the power washer from the bottom of the stain up, so that when the paint runs, it does not resettle in the stone .
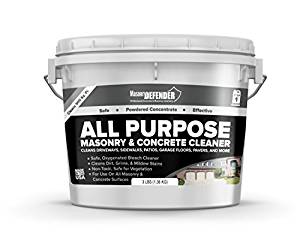
If there is still a hint of a stain on your masonry after power washing, you may need to resort to a masonry cleaner. You can find these at hardware stores or stores specializing in masonry products. These detergents are strong and acidic and need to be diluted to one part detergent to six parts water. Apply the masonry cleaner to the surface and work it into the stone with a scrubbing brush. Once it has sat and worked its magic, you can rinse with a regular hose setting.
Cars
Perhaps you were working in the garage, and your overspray or negligence were so tremendous that you ended up with a spray paint stain on your car. Or, maybe you came back to your car to find it tagged with graffiti. In either scenario, you are going to be angry with someone, whether it be yourself or some unknown vandal. Before you get too upset, there is a solution.
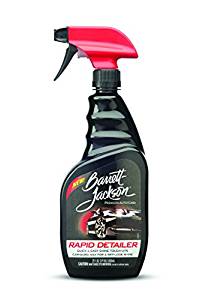
Try first, an automotive detail cleaner. Look for something mild at first. Spray it on the affected area and rub with a dry cloth.
If this does not work, you can try carnauba wax. For wax, you do not want to apply directly to the car, but first onto some sort of applicator like a dry sponge. Rub the sponge over the stain in circular motions (just like Mr. Miyagi taught Danielson). Carnauba wax is oil based and like using cooking oil on the skin, it should start to break down the paint’s bonds. Reapply as needed, added pressure to your waxing each time until the stain is gone.
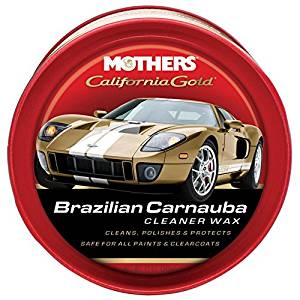
Once you’ve waxed, buff out the wax with a clean microfiber towel. This is not in the service of the stain necessarily, but to remove excess wax. It also may reveal specks of the original stain that you missed. If that is the case, you should repeat the process again.
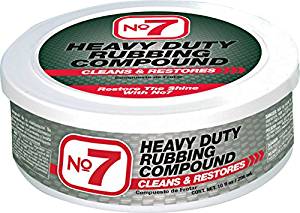
A last resort if the waxing doesn’t work is rubbing compound. These compounds are more abrasive and are meant for small body repairs. That said, you will rough out the finish of the car and will need to wax and buff later to return the shine. Use rubbing compound in small areas, widening out your circular passes as you go. This will prevent you from unnecessarily roughing up a portion of the car that was not hit with paint.
Conclusion
As you can see, spray paint can do some serious damage to the wrong surfaces and make a big clean up job of a small craft project. To this end, make sure you are taking preventative measures before you get to the point of masonry detergent or rubbing compound.
Lay drop clothes, and tape off areas you do not want painted just as you would a conventional paint project. Think of spray paint like a hand held, miniature, cordless paint sprayer. You would not use one inside or on your house without taping, so why do so with spray paint?
If spray painting outdoors, be sure you are clear of things you DO NOT want painted. Ultimately thought, some accidents are not preventable, but with these tricks up your sleeve (the unstained one), no surface should ever truly be ruined from spray paint.


