- No Obligations
- Stop Paying Too Much For Your Contractor
- No Spam Calling
- Screened & ID Checked Contractors only!
Easiest DIY Rustic Paint Technique for Furniture & Decor
0
 Easiest DIY Rustic Paint Technique for Furniture & Decor
earlyexperts.net
Easiest DIY Rustic Paint Technique for Furniture & Decor
earlyexperts.net
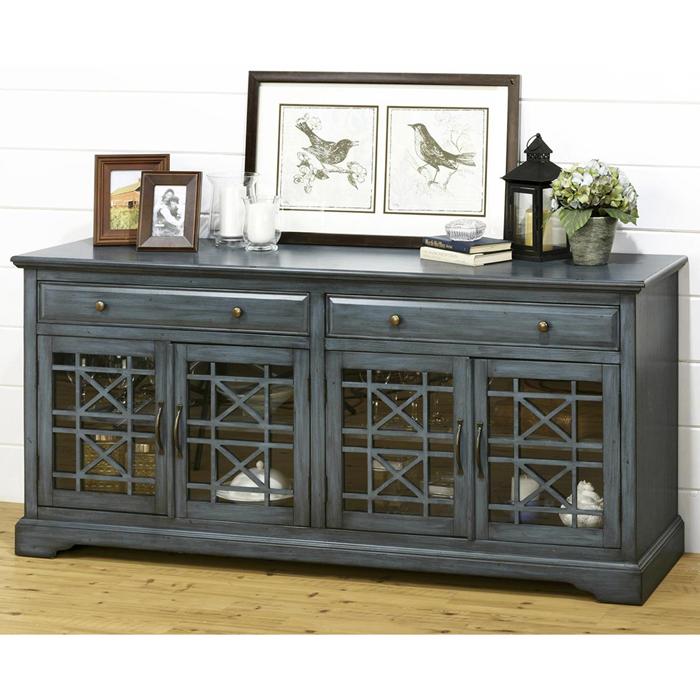
The rustic look has become more popular and more widely desired over the years. The new look is old, and the old look is new. Rustic and vintage looks are some of the most popular styles currently and it makes complete sense! Things that have that older, rustic look to them are so interesting. It’s like there is more to look at, more to take in. It has personality and it is unique. It is as if time brings a piece of furniture or décor, or whatever have you, to life.
Now, with all that being said, it isn’t always the easiest thing to come by these legit rustic and vintage pieces that help bring that look and style together. Unfortunately, even when you do manage to come across an awesome vintage, rustic-looking piece of furniture or décor, the price is usually pretty up there. It becomes a problem of supply and demand, and as the demand rises while the supply dwindles, the price of vintage items skyrockets.
Fortunately, however, a piece of furniture or décor does not actually have to be an old and vintage item to have that awesome rustic look that you’re after.
You can very easily make even brand spanking new items look like they are decades or even centuries old! You may be thinking that sure, other more crafty and creative people can do that, but not you. Well, you’re wrong! This awesome rustic paint technique could not be easier! This is the kind of simple project that absolutely anyone can do and achieve amazing results with! Not only is this rustic painting technique super easy, it is also so cheap that anyone can afford it!
What You’ll Need:
Your piece of wooden furniture or décor
Vaseline (petroleum jelly)
Paint brush(es)
Paint
How to Do it:
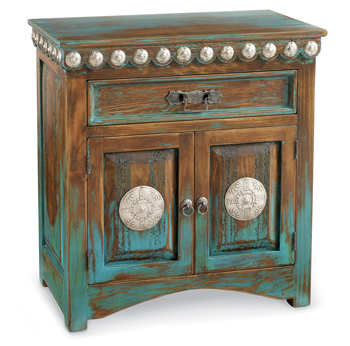
Okay, so to get started, you will obviously need an item that you want to give that awesome rustic look to. You can do this with tons of different things, but it definitely works best for wood since you will be using paint to help achieve the rustic look on the item. Some things that you can consider using this technique on would be coffee tables, dressers, chairs, signs for the wall, picture frames, end tables, book shelves, and almost anything else that you can think of. The possibilities with this are seriously endless and since it is so easy, you’re going to want to use this rustic painting technique on everything!
Once you have an item that you would like to try the rustic painting technique on, make sure that it is clean. Once the item is clean, you will take your paintbrush and dip it in the petroleum jelly. Ideally, you would use a thick paintbrush that is at least an inch or two wide. This is definitely not a necessity, but it helps, especially with larger pieces like dressers and coffee tables. If you are doing something smaller, a small paintbrush will work just fine too. Make sure you get the petroleum jelly nice and thick on the paintbrush.
Take your petroleum jelly covered paintbrush and start painting it along the edges and corners of the piece that you are using the rustic painting technique on. You’ll want to use very small, uneven brush strokes for best results and the most natural looking rustic appearance. It is important to remember that you are putting the petroleum jelly on the parts of the wood where you don’t want the paint to adhere to. This gives it a distressed, worn look that older furniture often has. That is why you want to start with the edges and corners of the piece, because that is where paint would naturally wear off of things first.
While you definitely want to put the focus on the corners and edges of the piece when applying the petroleum jelly, you don’t have to stick to just those. For smaller pieces or for a subtler look, sticking to the corners and edges will be your best bet. However, if you want to have a more striking or obvious rustic look and/or you are making a larger piece of furniture or décor, you can also add some petroleum jelly throughout the flat areas of the piece. For this, you want to use less of the petroleum jelly on the brush and keep the brush strokes uneven. You also want to keep the strokes going in the same direction for the non-edge parts of your project.
One you have the petroleum jelly in place everywhere that you want it on your piece, simply paint the piece. The best option to do this with would be spray paint because it will very easily go over the piece without messing up and spreading around the petroleum jelly. However, it’s definitely possible to do this with any paint and use a brush to apply the paint as long as you are careful and aware of where the petroleum jelly is. You just don’t want to spread the petroleum jelly around so much that you have large sections of the piece where the paint doesn’t adhere.
After you have painted your piece, you will want to give it enough time to thoroughly dry. Then, your final step will be to simply remove the petroleum jelly from the piece and reveal the parts of the piece that the paint didn’t adhere to. This is where your hard work pays off and you get to see that awesome distressed, rustic look on your piece. The easiest and quickest way to remove the petroleum jelly is to just use a wash cloth to rub it off. What you’re left with is a beautiful piece of aged looking furniture or décor with a lovely rustic appearance for just a fraction of the price of most vintage furniture that naturally has the look! This project couldn’t get much easier, but for a quick visual tutorial, check out this video!
Most Read


How to Plant Grass Seed? Best Tips for First Timers
Apr 06, 2021
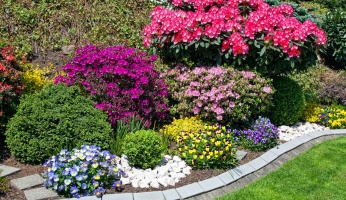
Flower Bed Edging Ideas and Easy Tips
Apr 06, 2021

Moving House Checklist 2024
Oct 25, 2024