- No Obligations
- Stop Paying Too Much For Your Contractor
- No Spam Calling
- Screened & ID Checked Contractors only!
A Simple 5-Step Guide To Concrete Painting
0
 A Simple 5-Step Guide To Concrete Painting
earlyexperts.net
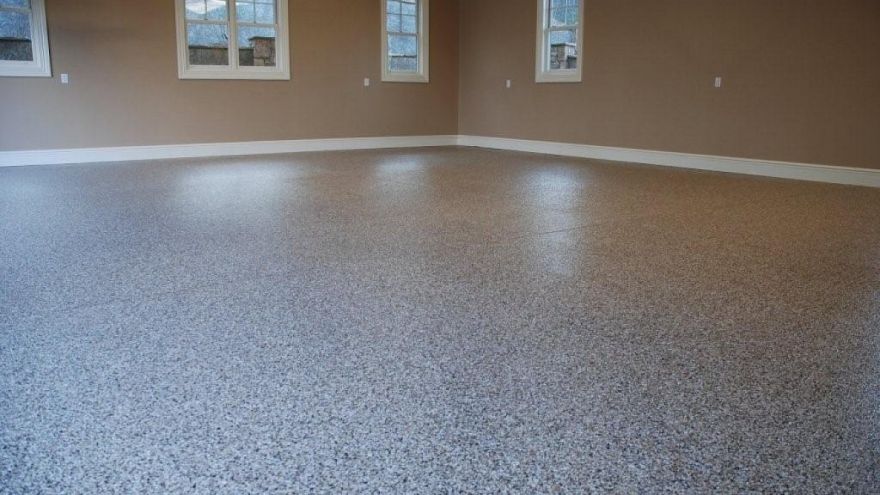
Whether you’re painting interior or exterior concrete, the right preparation is key to ensure that it looks its best. More importantly, it will help you to avoid having the paint peel up and even worse forcing you to have to redo the job. Since most concrete is usually gray and frankly, quite blah, you can give it new life with a fresh coat of paint. Don’t know where or how to start? You’ve come to the right place. We’re going to tell you exactly how to go about turning your boring old concrete floor or ceiling into a bright and vibrant thing of beauty.
Step 1- Prepare Your Concrete Surface
Before you paint anything you’re going to need to make sure that the surface is free of any debris. This can be done by sweeping up dirt, grime, and leaves. If you notice any areas that are uneven on the concrete, you can smooth them out by sanding them down. However, if the concrete is textured and you want it to remain so then you can skip this step. Vacuuming the concrete will also ensure that you have removed any smaller bits of debris and dust that weren’t picked up on the first pass.
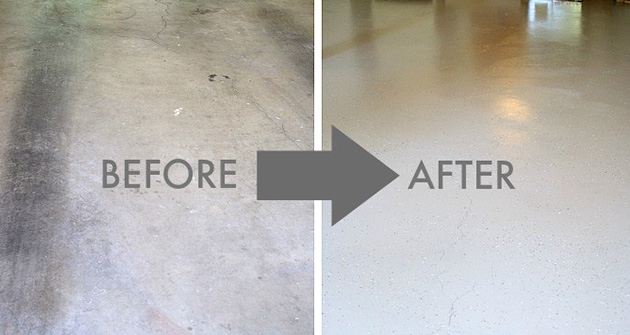
For deepset grease and other stains, using a heavy-duty cleaner such as Trisodium Phosphate will remove unsightly marks making it easier to paint over them. Otherwise, these stains may show through the paint. If necessary, pressure washing the surface can also remove any old paint drops and other hard to remove sediment. Whichever method you decide, the most important thing is to make sure that all of the dust is removed prior to painting.
Step 2- Take Care of Cracks and Craters
To ensure that your paint goes on nice and smooth, make sure to fill in any cracks with pastes or compounds that are specifically meant for concrete. If you skip this step, then the chances for moisture to seep into or under the paint are greatly increased. Should this happen, you’ll find yourself having to go back and repaint the surface because the original paint began to peel.
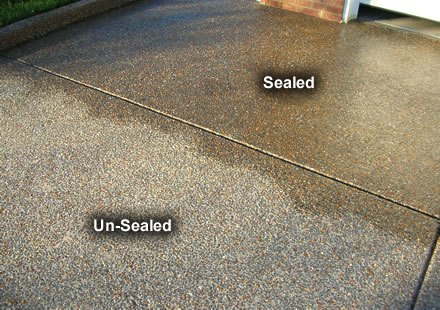
Pro-tip: Since concrete is extremely porous, we recommend using a concrete sealant prior to adding a primer or paint. This will prevent moisture from getting into the concrete and ruining your paint job.
Step 3- Prime Before Painting
Just like you would do with a regular wall, interior and exterior concrete surfaces need to be primed before adding your paint color. This can be done using a high-capacity paint roller and go over the concrete with one or two coats. When purchasing the primer, make sure that it is compatible with this type of material.
Step 4- Now It’s Time to Paint
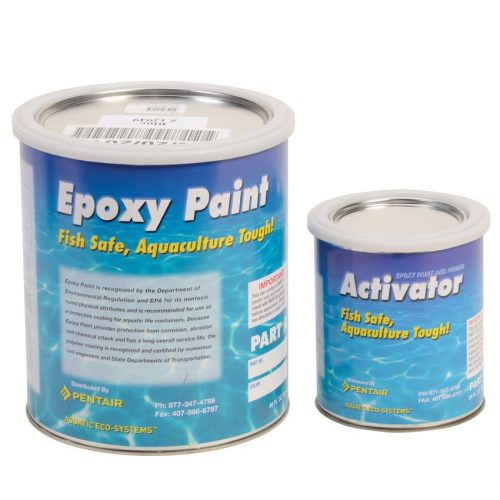
After you’ve prepped and primed your floor or ceiling, you can begin painting the concrete. Before you bust out the paint roller though, you’ll have to use the correct type of paint. Epoxy is the best to use for this job because it holds up well against fluctuations in temperature. Once you choose the right paint and your perfect color, it’s time to get to work. Begin painting the concrete using an even coat across the surface leaving at least 8 hours between coats. After the first coat is dry, feel free to add another layer or two to get a nice, rich color.
Step 5- Add the Final Sealant
Once the paint is completely dry, add a few good coats of masonry sealant as a final protective layer to avoid any moisture from penetrating the concrete. Again, using any old sealant won’t do. You’ll need to make sure that it is appropriate to use for materials like concrete.
Conclusion
Painting your concrete floor, ceiling or any surface in your home is not difficult and the best thing is that you can do this yourself. Taking this on as a weekend project will transform your indoor or outdoor concrete into a modern and sophisticated addition to your room, garage or patio.

