- No Obligations
- Stop Paying Too Much For Your Contractor
- No Spam Calling
- Screened & ID Checked Contractors only!
Restoring Old Furniture: The Easiest Way to Make Old Look New
1
 Restoring Old Furniture: The Easiest Way to Make Old Look New
earlyexperts.net
Restoring Old Furniture: The Easiest Way to Make Old Look New
earlyexperts.net
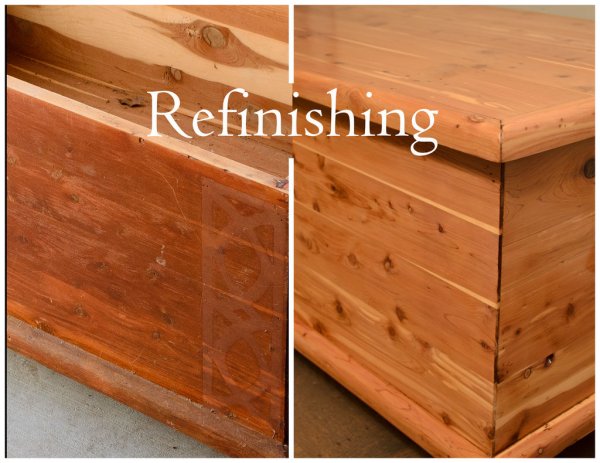
Antique furniture is beautiful and jam packed with the kind of craftsmanship our modern designs lack. While there is nothing quite like an old desk or table set in this regard, the operative word is old.
These pieces have taken a beating over the years. Whether they have been improperly stored or been subject to water damage, or just wear and tear from use, restoring them back to their former glory can often feel like an overwhelming task.
But this doesn’t have to be the case. There are a few products and methods out there, that when used with fidelity, can nurse that antique CraigsList find back to health in no time. In this article we outline those tips and tools for all your future refinishing projects.
Process and Materials
The refinishing process and the necessary tools is best outlined in a five step process.
- Prep
- Cleaning
- Reamalgamation
- Stripping
- Refinishing
For each section, we will link to what we feel are the best products associated with the task at hand.
Prep
Restoring old furniture does not merely mean sand and paint. There will be chemicals. Lots of ‘em. That said, it is important to do the work of proper preparation. Be sure you are using protective gloves and masks as you work and to work in a well-ventilated area.
Once you are done, you will have dirtied up a whole bunch of applicators with hazardous materials, which will need to be properly disposed of. That may mean proper storage until you can find a local hardware store or home improvement warehouse that will take these. Typically the materials you use will have instructions for storage on the package which you can follow.
Last but not least, old furniture means old paint, and old paint means the potential for lead. If you think your piece may have lead paint, use a proper ventilation when stripping or leave it up to the pros.
Cleaning
Without doing too much more, some pieces can be fully restored with a good scrub down. For wood, your best bet is an oil based commercial wood cleaner, like Murphy’s. This will cut through layers of dirt and wax that have accumulated on the surface of your piece over the years.

If the pieces proves to need more than just the run of the mill wood cleaner to restore its former glory, try a warm water, detergent mix.
Soak the wood of the furniture with a moist rag, being careful not to get the piece too wet. Rinse the entirety of the surface clean of detergent and dry thoroughly to avoid water damage or eventual rotting.
If neither will do, you may need a solvent cleaner. Solvents include substances like mineral spirits, turpentine, or denatured alcohol.
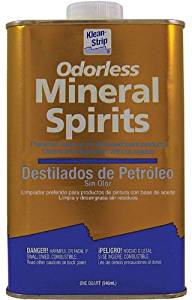
One option is Klean-Strip’s odorless mineral spirits. While the product claims it can be used indoors, we advise playing it safe. Also, be prepared for a recycling fee when disposing of the quart.
When using any of these substances, the best applicator is a rough cloth or burlap. You will want to use another softer cloth to wipe away the cleaner as you go. The process is very much like waxing a car.
After you’ve cleaned with a solvent, try the Murphy’s again with more clean cloths, and it should be good to go.
Reamalgamation
If you piece is truly worn and cased with scratches and cracks, the best way to refinish is through a process called reamalgamation. This should come after the cleaning process and involves the application of a solvent like the ones mentioned above.
The difference between cleaning with a solvent and reamalgamation is that in the latter you will use a natural bristle brush and let the solvent sit and dry on the piece.
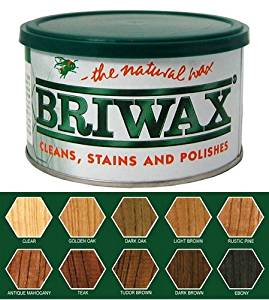
The finish will appear glossy at first, but eventually dry dull, hopefully without cracks and scratches. Next, buff the formerly scratched areas out with steel wool with the grain of the wood and add a hard paste wax like Briwax to bring back the shine.
Stripping
With the cracks and scratches filled and the surface once again flush, you are back at square one. Now it is time to truly refinish. During the process of reamalgamation, you simply built the wood back up to meet the original surface.
Well, upon the original surface is the original finish. In order to refinish, you will need to bring it back down to the raw wood you have just worked to revitalize.
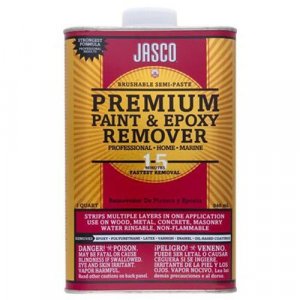
The more layers of paint there are on a piece of furniture, the more stripping formula you will require. Try a semi-paste stripper that can sit on the surface and work its magic, loosening old coats of paint for easy stripping.
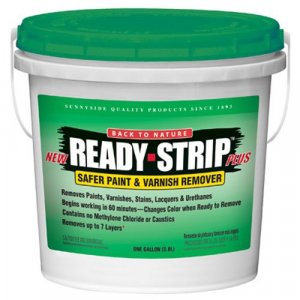
Ready-Strip is a solid product to try. This product boasts the ability to strip up to seven layers of paint, varnish, stain, lacquer, or urethane in just one application. The beauty of the semi-paste is that it will adhere to areas on the underside of furniture and not drip, making a totally efficient product.
After twenty minutes or so, you should be okay to begin stripping. Use a putty knife and be patient. It may take a few applications of the stipping formula to get the piece clean.
Once the majority of the paint is free of the furniture you can switch to a liquid stripper to get the last little bit. Use a paint brush and paint the stipper on, letting it sit for a few minutes. Then, employ a brass-bristle brush or steel wool to get at corners. Finally, clean and rinse to get the last little film of paint free of the piece. For this, use a squeegee or sponge.
Refinishing
Finally, having taken care of all these other steps, you can begin to think about the sand and paint or stain. What was initially going to be your first and only approach is really, as the name implies, a finishing touch.
Before you do anything though, audit the piece for any necessary furniture repairs. You can put your carpentry skills to the test here, and with glue and screws, most small repairs are fixable.
Once that is done, you can begin sanding. Use 100-120 grit sandpaper, which is the finishing grit. Then, wipe down thoroughly so that the surface is thoroughly prepared for staining.
When picking a stain, consider the shade of stain. For a piece with more imperfections, you may want to go darker. That said, you may also want to highlight these imperfections. Then, a lighter shade would be great.
Stain will cure with a texture, so it needs a light sanding on top of the initial sanding. For this use 220 grit and sand lightly, just enough to smoothen out the finish.
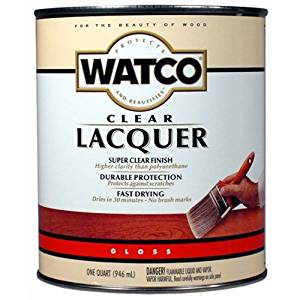
From there you are free coat in polyurethane or lacquer to achieve the shine and protection that will keep your piece in lasting condition for years to come.
Most Read


Additional Storage Ideas for Small House Dwellers
Apr 06, 2021
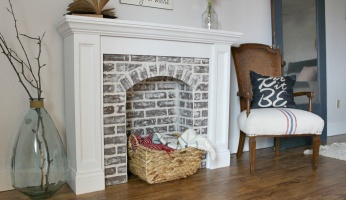
What You Need to Build a Faux Fireplace
Sep 28, 2018

When and How to Water Your Lawn
Apr 06, 2021