
Chain Link Fence Costs in 2024: A Comprehensive Guide
Are you wondering how much it would cost to install a chain link fence around your property? I’ve been in the same boat too, and after scouring through countless resources, I discovered that an average cost for standard-sized yard totals around $2,090.
This blog post is designed to walk you through all the factors influencing this cost – from height, gauge, linear footage to additional trims and features. Read on if you want complete insight into understanding chain link fences and their costs!
Key Takeaways
- The cost of a chain link fence installation can vary based on factors such as the height, length, and size of the fence.
- The gauge or mesh thickness of the fencing materials can impact both the durability and cost of the chain link fence.
- Additional features like walkway gates, driveway gates, privacy slats, powder coating, and painting options can increase the overall cost.
Understanding Chain Link Fences
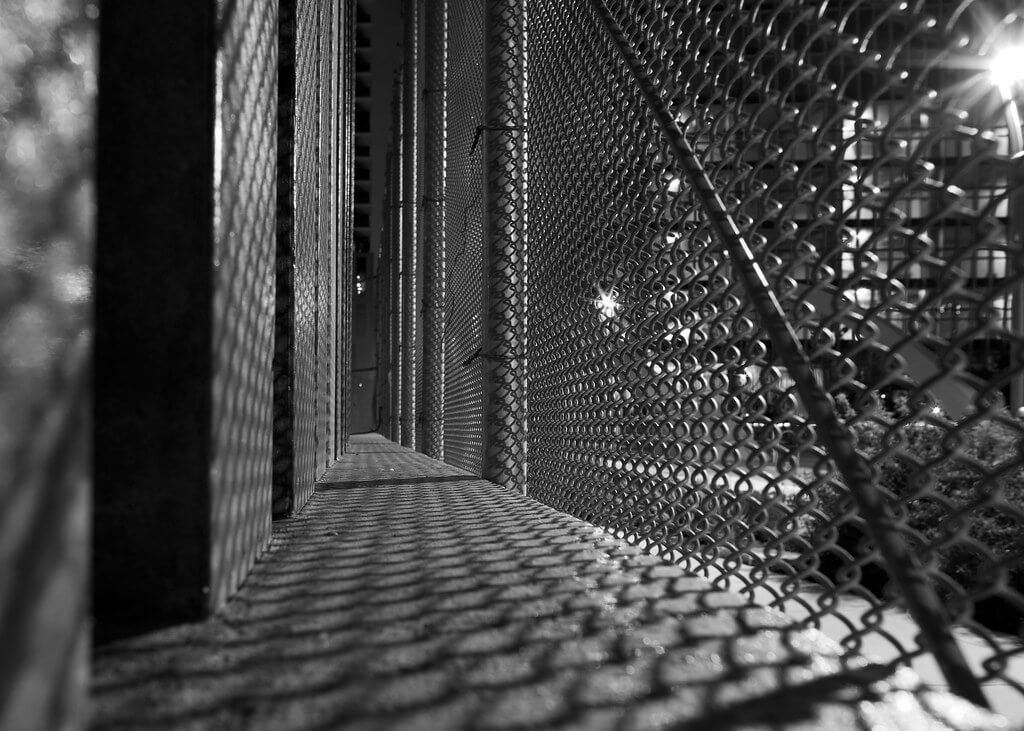
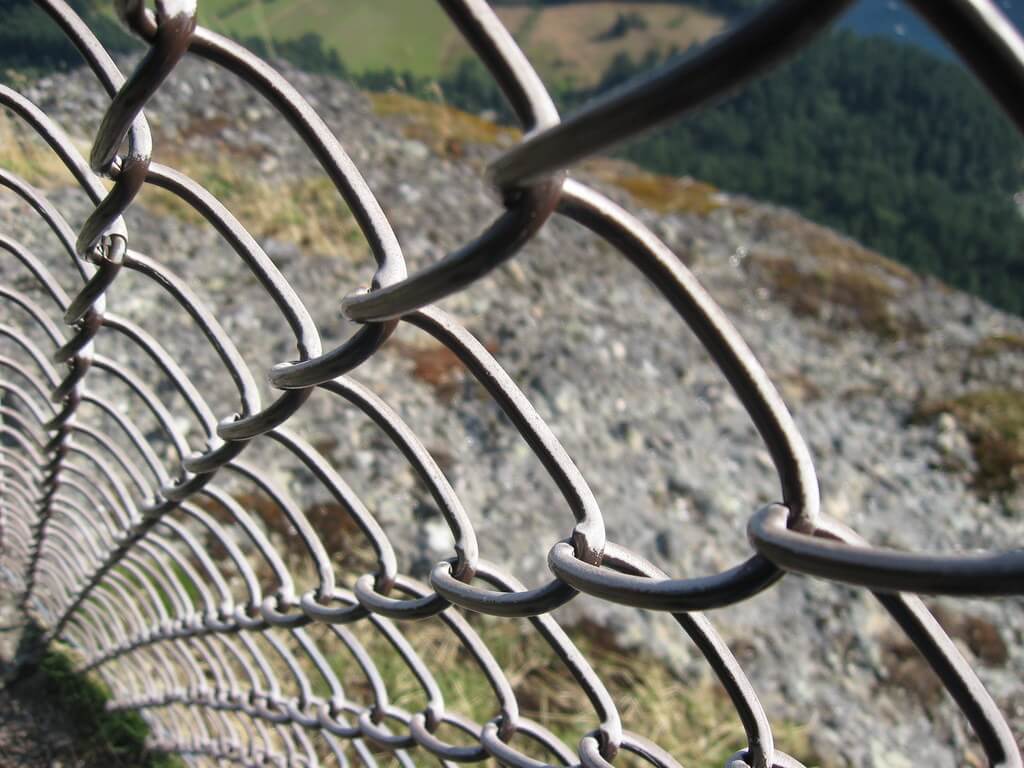
Chain link fences are a popular choice due to their durability, affordability, and ease of installation. Typically comprised of diamond-pattern wire twists held together by line posts and corner posts, these fences stand up against wind, weather, and impact.
The top rail sleeve creates an additional layer of support for the fence while tension bars hold the chain link fabric taut.
Various elements contribute to the structure of a chain link fence. For instance, gauge or mesh thickness refers to how thick each steel wire in the fencing is; lower gauges mean thicker wires which lead to stronger fences but at an increased cost.
Height also plays a huge role as taller fences require more materials thus leading to higher costs. Another important component is privacy slats that can be added into your chain-link network for extra protection or if you simply prefer less visibility through your fence.
Factors Influencing Chain Link Fence Cost
Several factors can influence the cost of a chain link fence installation, including the height, length, and size of the fence. The gauge or mesh thickness, diamond size, and type of posts and concrete used for installation can also impact the overall cost.
Additional considerations such as walkway gates, driveway gates, privacy slats, powder coating or painting options may incur additional costs.
Height, Length, and Size
The height, length, and size of a chain link fence significantly affect the overall cost. Chain link fencing is available in various heights ranging from 3 feet to 12 feet. As you might expect, taller fences require more materials and labor for installation, which leads to increased costs.
Length adds another dimension to the total cost since most companies charge based on linear footage. Essentially, the longer your fence line is, the more it will cost due to an increase in required materials such as corner posts, line posts, top rail sleeves and wire twists used for its construction.
Alongside this factor sits size; larger diamond patterns within the mesh often call for less metal usage – therefore being cheaper than smaller diamonds that use more material.
Gauge or Mesh Thickness
The gauge is a crucial factor in calculating chain link fence cost. It pertains to the diameter of the wire used for weaving the mesh. The twist here is, a lower gauge number means thicker wire and thus, higher durability.
So, your chain link fencing built with low-gauge metal will stand up better against elements and impacts but will also increase costs upfront. Now comes the part about diamond size or mesh thickness that’s directly linked with security; smaller gaps mean less opportunity for intruders or animals to penetrate your perimeter!
Diamond Size
The diamond size of a chain link fence can influence its cost. The diamond refers to the pattern created by the twisted wire that forms the fence’s mesh. Smaller diamond sizes require more wire and are generally more expensive compared to larger ones.
When selecting a chain link fence, consider your specific needs and budget. Keep in mind that different suppliers may offer various options for diamond sizes, allowing you to choose one that suits your preferences and price range while still providing the security and functionality you desire.
Posts and Concrete
Posts for chain link fencing come in different materials, such as metal, wood, vinyl, or concrete. These posts provide the support and stability needed to keep your fence upright. When installing a chain link fence, it’s important to choose the right type of post that suits your needs and budget.
Concrete posts are a popular choice due to their durability and strength. They can withstand harsh weather conditions and last for many years without deteriorating. Wooden posts are also commonly used but may require more maintenance over time.
Ultimately, the choice of post material will depend on factors like cost, personal preference, and the specific requirements of your project.
Concrete is typically used to secure corner posts and gateposts since they need extra stability compared to line posts which may be set directly into the ground without concrete if you have stable soil consistency.
Pounding line posts into the ground instead of setting them in concrete can help save on costs associated with buying and pouring concrete. This technique works best when the soil consistency allows for easy penetration by pounding machines or manual methods.
Walkway Gate and Driveway Gate
Installing a walkway gate and driveway gate can add convenience, security, and curb appeal to your chain link fence. A walkway gate provides easy access for pedestrians while keeping unwanted visitors out.
It’s typically smaller in size compared to the driveway gate. On the other hand, a driveway gate is larger and designed to accommodate vehicles entering or exiting your property. Both gates can be customized to match the style of your fence, whether it’s galvanized metal or vinyl-coated chain link.
Adding these gates will give you peace of mind knowing that your property is protected while still allowing convenient entry and exit points.
The cost of walkway gates and driveway gates may vary depending on factors such as materials used, size, design complexity, and installation labor. It’s important to choose high-quality gates that are durable enough to withstand daily use and weather conditions.

Privacy Slats
Privacy slats are a great addition to your chain link fence if you’re looking for increased privacy and security. These slats are made of durable materials like PVC or aluminum and can be easily inserted into the links of the fence.
They come in various colors and styles, allowing you to customize the appearance of your fence while also blocking the view from outside. With privacy slats, you can enjoy a more secluded backyard or commercial property without compromising on the strength and durability of your chain link fence.
Powder Coating and Painting
Powder coating and painting are two options that can add durability and aesthetic appeal to a chain-link fence. Powder coating is a popular choice because it provides rust resistance and extends the lifespan of the fence.
The cost of powder coating and painting will vary depending on factors such as the size of the fence and the quality of materials used for coating. It’s important to consider these costs along with other factors when determining the overall cost of installing a chain-link fence.
Additional Costs and Considerations
In addition to the cost of the chain link fence itself, there are several other factors that can contribute to the overall cost of installation. These include expenses such as fence removal, labor, land clearing and preparation, required permits and hardware.
It’s important to consider these additional costs when budgeting for your chain link fence project.
Fence Removal
Removing a chain-link fence can incur additional costs and considerations. The cost of fence removal varies based on factors such as the length and height of the fence, the difficulty of the removal, and any extra services required.
Fence installers typically charge an hourly rate for their services, in addition to material costs. Taller chain-link fences may require more labor and equipment for dismantling, resulting in higher removal expenses.
Other factors like permits, landscaping, tree removal, and privacy slats can also impact the cost of removing a chain-link fence. It’s important to take these factors into account when planning your budget for fence removal.
Installation and Labor
Installing a chain link fence requires both skilled labor and specialized tools. To ensure the fence is properly installed, it’s recommended to hire professional installers who have experience in working with chain link fences.
They will be able to accurately measure and mark the fence line, set up the posts securely, attach the mesh and tension wire, and install any gates or additional features. The cost of installation and labor can vary depending on factors such as the size of the fence, terrain complexity, and local labor rates.
It’s important to budget for this expense when planning your chain link fence project.
Land Clearing and Preparation
Land clearing and preparation are crucial steps in the installation process of a chain-link fence. Before the fence can be installed, it’s important to clear the area of any debris, bushes, or trees that may obstruct the fence line.
This ensures that the fence will have a solid foundation and won’t be compromised by any obstacles. Additionally, proper land preparation involves leveling the ground and removing any rocks or uneven surfaces to ensure a smooth and even installation.
Investing time and effort into these preparatory steps will greatly contribute to the stability and longevity of your chain-link fence.
Required Permits and Hardware
Permits are an essential consideration when installing a chain link fence. They are an additional cost that should be included in your budget. The specific requirements and costs of permits can vary depending on your location and the project’s scope.
Local authorities may require permits to ensure that your fence meets building codes and zoning regulations. As for hardware, posts and rails are necessary for the installation of a chain link fence.
Make sure to factor in these items when planning your fencing project.
Types of Chain Link Fences and Their Costs
There are various types of chain link fences available, each with different costs and advantages. Find out more about the different options to choose from!
Galvanized
Galvanized chain link fences are a popular option for homeowners due to their affordability and durability. With costs ranging from $5 to $15 per linear foot, depending on the height, they offer great value for money.
These fences provide enhanced security by acting as a visual deterrent to potential intruders and preventing climbing. They also require minimal maintenance, with occasional washing and quick fixes being sufficient for repairs.
Customization is another advantage of galvanized chain link fences, allowing homeowners to choose the mesh size, post materials, gauge, diamond size, privacy elements, gates, and post caps that suit their needs.
Cyclone or Hurricane
Cyclone or hurricane-resistant chain link fences are an option for those looking for increased durability and strength. These specially designed fences are built to withstand extreme weather conditions, including high winds and heavy rain.
They are constructed using stronger materials and have additional reinforcements, such as thicker gauge wire, stronger posts, and extra bracing. While the cost of these cyclone or hurricane-resistant chain link fences may be higher than traditional options, they provide added peace of mind knowing that your fence will remain intact during severe storms.
Vinyl-Covered Chain Link
Vinyl-covered chain link fencing is a popular option for those seeking a low-maintenance and durable fence. It not only reduces maintenance time but also lowers your long-term costs.
The cost of vinyl-covered chain link fencing typically ranges from $13 to $40 per linear foot, depending on factors such as height and gauge. With heights varying from 3 feet to 12 feet, you can choose the right size for your needs.
Additionally, privacy slats made of plastic or wood can be added to enhance privacy and style. To protect against rust and improve appearance, powder coating can be applied to the vinyl-covered chain link fencing.
Wood or Metal With Mesh
Wood or metal with mesh are not commonly used materials for chain link fences. Chain link fencing is typically made using galvanized metal, vinyl-coated metal, or powder-coated metal.
Wood and metal with mesh may be more commonly used for other types of fencing, such as wooden privacy fences or ornamental iron fences. When it comes to chain link fencing, the most popular choices are those that offer durability and low maintenance while still providing security and functionality.
That being said, if you’re looking for a fence that combines the strength of chain link with the aesthetic appeal of wood or metal with mesh, there are alternative options available in the market.
One option is composite fencing which blends plastic and wood fibers to create a durable yet attractive fence that mimics the look of wood. Another option is ornamental steel fencing which features intricate patterns and designs while still utilizing the strength of steel mesh.
The Benefits of Chain Link Fences
Chain link fences offer numerous benefits for homeowners. They increase home value, provide improved security, require low maintenance and easy repair, allow for customizable appearance options, and are incredibly durable.
Increased Home Value
Chain link fencing can be a valuable addition to any home, as it has the potential to increase the overall property value. This is particularly true for homebuyers who are concerned about security or have pets that need containment.
The presence of a chain link fence sends a message to potential buyers that the property is secure and well-protected. Additionally, chain link fences provide an additional layer of privacy, which can be appealing to homeowners.
With these benefits in mind, investing in a quality chain link fence may not only enhance your home’s aesthetics but also boost its market value.
Improved Security
Chain link fences offer improved security for properties. With their sturdy construction and tightly woven diamond-patterned wire, these fences create a strong barrier that can deter trespassers and provide peace of mind.
Additionally, chain link fences can be enhanced with various security features such as privacy slats or even barbed wire at the top to further discourage unauthorized access. The durability of chain link fencing ensures long-term protection for your property, as they are designed to withstand harsh weather conditions, impact, and even attempted vandalism.
Vinyl-coated chain-link fences are particularly advantageous in terms of security because they are more resistant to rust and corrosion compared to traditional galvanized metal options.
Low Maintenance and Easy Repair
Maintaining a chain link fence is incredibly easy, making it an ideal choice for homeowners looking for hassle-free fencing options. With regular cleaning and occasional inspections, you can keep your chain link fence in great condition for years to come.
Unlike other types of fences that require constant upkeep, a chain link fence only needs occasional repairs. If any part of the fence gets damaged or starts to sag, it can be easily fixed by replacing the affected section without having to replace the entire fence.
This not only saves you time but also reduces repair costs significantly.
Moreover, with its simple design and minimal components, repairing a chain link fence is straightforward and doesn’t require specialized skills or tools. In most cases, all you need are some basic materials like replacement mesh sections and wire ties to restore your fence’s functionality.
Customizable Appearance
One of the benefits of chain link fences is their customizable appearance. Modern chain link fencing can be designed to have an attractive or nearly invisible look. Homeowners have the option to choose from different styles and finishes, allowing them to create a fence that matches their preferences and enhances the overall aesthetic of their property.
The size of the diamond-shaped pattern in the fence also plays a role in its appearance, giving homeowners even more customization options. With chain link fences, you can have both functionality and visual appeal without compromising on style.
Durability
Chain link fencing is known for its durability, making it a popular choice for homeowners. These fences are designed to withstand harsh weather conditions, strong winds, and even impact without getting easily damaged.
The wire used in the chain link fence comes in different thicknesses or gauges, with lower numbers indicating thicker wire. Thicker wire adds to the fence’s strength and overall durability.
Additionally, powder coating can be applied to the chain link fencing to protect it from rust and corrosion while also enhancing its appearance. With these features, homeowners can trust that their chain link fence will stand the test of time and continue to serve its purpose effectively.
DIY Installation vs. Hiring a Professional
I decided to save some money and tackle the installation of my chain link fence myself. Here are some reasons why you might want to consider the same:
- DIY installation can save you around half the cost of hiring a professional.
- You can have full control over the entire process and ensure that it is done according to your specifications.
- You can work at your own pace and schedule, making it more convenient for you.
- It can be a rewarding and satisfying experience to complete a home improvement project on your own.
- With proper research and preparation, DIY installation can be relatively straightforward and manageable.
- You can learn new skills and gain valuable hands – on experience in fence installation.
- By doing it yourself, you have the opportunity to save on labor costs.
Money-Saving Tips for Chain Link Fence Installation
When installing a chain link fence, there are several money-saving tips to keep in mind:
- Choose a shorter fence: Opting for a lower height can significantly reduce the cost of materials and installation.
- Use a lighter gauge or larger diamond pattern: These options are typically less expensive, while still providing adequate strength and durability.
- Minimize the number of corners: Each corner requires additional posts and hardware, so designing the fence with fewer corners can save on material costs.
- Bundle fencing jobs with neighbors: Sharing the cost of labor with neighbors or splitting the cost of materials for adjacent fences can be a budget-friendly option.
- Consider DIY installation: If you have some construction skills, tackling the installation yourself can save on labor costs.
- Shop around for materials: Compare prices from different suppliers to find the best deals on chain link fencing materials.
- Plan ahead for added features: If you anticipate adding privacy slats or gates in the future, it may be more cost-effective to install them during the initial fence installation rather than as separate projects later on.
- Maintain your fence properly: Regular maintenance and repairs can extend the lifespan of your chain link fence, saving you money in the long run.
Conclusion
In conclusion, the cost of a chain link fence can vary depending on several factors such as height, gauge, linear footage, and additional features like gates and privacy slats. On average, it costs around $2,090 for installation in a standard-size yard.
Despite its affordability, chain link fencing offers durability and customization options that can enhance home value and provide security. Whether you choose to install it yourself or hire a professional, understanding the factors influencing chain link fence cost will help you make an informed decision for your property.
FAQs
1. How much does a chain link fence typically cost?
The cost of a chain link fence can vary depending on factors such as the size, height, and quality of materials used. On average, you can expect to spend around $10 to $20 per linear foot for installation.
2. Are there any additional costs associated with installing a chain-link fence?
In addition to the cost of materials and labor for installation, there may be additional costs for permits, site preparation, and any necessary repairs or adjustments to the terrain.
3. What factors can affect the cost of a chain link fence?
Factors that can affect the cost of a chain link fence include the length and height of the desired fencing area, whether it requires gate installations or special features, and regional pricing differences.
4. Can I save money by installing a chain link fence myself?
While it is possible to install a chain link fence yourself to save money on labor costs, it is important to consider your level of experience and expertise in fencing installation. Improperly installed fences may not provide adequate security or durability and could result in costly repairs down the line.