
Coffered Ceiling Cost in 2024: A Complete Guide
Ever thought about sprucing up your home’s ceiling but unsure of how much it would cost? Just like you, the installation of a coffered ceiling has intrigued me due to its beautiful and eye-catching aesthetic.
After diving deep into research, I’ve uncovered all the essential details, including that the typical cost range for installing a coffered ceiling is between $3,000 and $4,500. Get ready to explore the ins and outs of coffered ceilings – from materials used, expected costs to design tips that will elevate your home design game!
Key Takeaways
- The typical cost range for installing a coffered ceiling is between $3,000 and $4,500.
- Materials used for coffered ceilings include drywall, plywood, fiberboard, oak, cherry, walnut PVC, and mahogany. Drywall is the most affordable option while real hardwood materials like walnut or mahogany can be more expensive.
- Adding extras like soffits ($1 to $3 per linear foot) or tin tiles (increasing total cost by approximately $1,500) can enhance the overall appearance of your coffered ceiling.
- Installation costs vary based on factors such as size and complexity of design as well as materials used. Larger ceilings and intricate designs may result in higher costs.
What is a Coffered Ceiling?
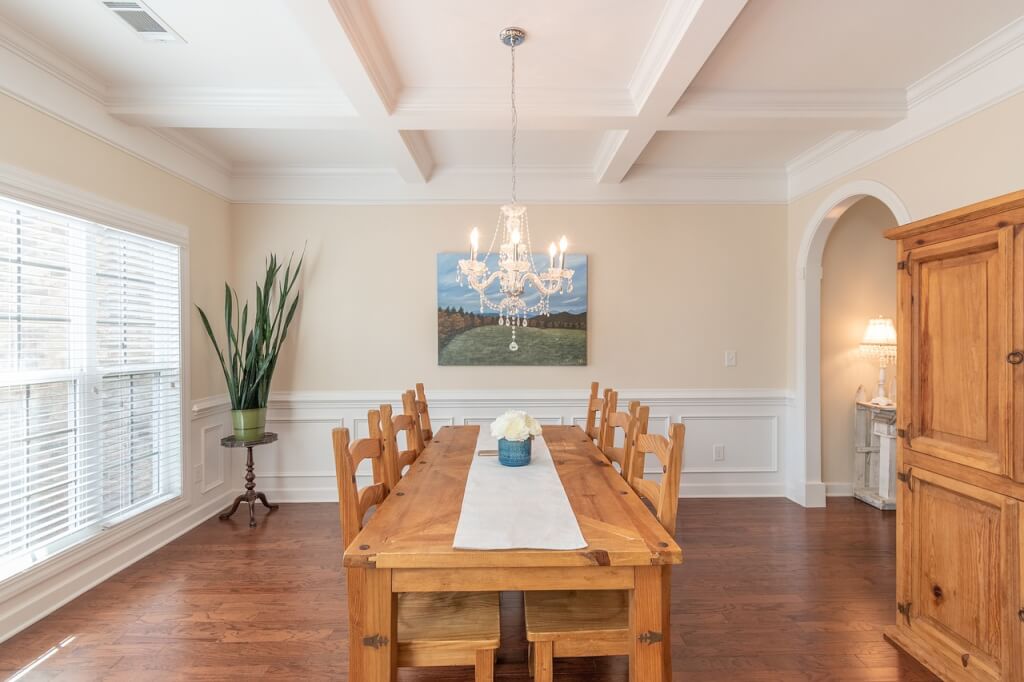
A coffered ceiling boasts a grid-like pattern made from sunken three-dimensional panels. This decorative feature gives depth to otherwise flat surfaces, adding architectural detail to any room.
Originating from the Greek Pantheon and seen in historic places like France’s chateaus or Florence’s Duomo, coffered ceilings have been jazzing up spaces for centuries.
These ornate designs create an engaging optical illusion of height and spaciousness while absorbing sound – making them perfect additions to large, open floor plans or rooms with high ceilings.
Materials used can range widely based on aesthetic preferences and budget constraints – common ones include drywall, plywood, fiberboard, oak, cherry, walnut PVC, mahogany etc.
Types of Coffered Ceilings
There are several types of coffered ceilings to choose from, including drywall, plywood, fiberboard, cherry, walnut, and mahogany.
Drywall
Drywall offers an affordable alternative for those looking to install coffered ceilings. As the least expensive material on the market, it costs around $2 to $3 per square foot, making drywall a popular choice among homeowners and builders alike.
Builder’s demand for materials like drywall has surged recently, causing prices to rise by 5% to 10% in 2022.
Considering build cost only, constructing a basic coffered ceiling using drywall falls within an average range of $20 – $30 per square foot. But if you plan on enhancing your ceiling with decorative extras such as medallions or tin tiles, these additions can influence overall expenses.
Incorporating soffits into your design for instance will cost about $1 to $3 more per linear foot.

Plywood
Plywood, a common material in coffered ceiling construction, earns favor for its robustness and economical price point. Offering endless customization possibilities due to its flexibility, plywood can be tailored to fit various design patterns and adapt different ceiling shapes or sizes.
Whether your choice is an oil based paint or stain finish, the application on plywood enhances the aesthetic value of any room setting with a coffered ceiling. The solid structure of plywood also guarantees long-lasting durability for your coffered ceilings.
Fiberboard
Fiberboard is a common material used for coffered ceilings. It is one of the materials that can be used to build a basic coffered ceiling. Although the cost of fiberboard for a coffered ceiling is not specifically mentioned in the article, it offers an affordable option compared to other materials like solid wood.
Fiberboard provides a smooth and uniform surface, making it easier to paint or apply decorative finishes. While this article does not provide information on the advantages or disadvantages of using fiberboard for coffered ceilings, it is worth considering as a cost-effective option for achieving an elegant and visually appealing ceiling design.
Cherry
Cherry wood is a popular choice for coffered ceilings due to its durability and longevity. It is one of the common materials used for coffered ceilings, adding to the overall cost of installation.
Real hardwood materials like cherry can cost up to $30 per square foot, making it a higher-end option for those looking for a luxurious touch in their home. With its rich color and beautiful grain pattern, cherry adds an elegant and timeless look to any room with a coffered ceiling design.
Walnut
Walnut is a popular material used for coffered ceilings due to its natural beauty and durability. It is considered a real hardwood, which makes it one of the more expensive options for coffered ceiling installations.
Walnut can cost up to $30 per square foot, making it a high-end choice for those looking to add elegance and sophistication to their space. However, the article does not provide specific information about walnut’s unique features or characteristics in relation to coffered ceilings, nor does it discuss its popularity or demand in this context.
Mahogany
Mahogany is a popular choice for coffered ceilings because of its durability and resistance to wear and tear. It is considered a high-end material that adds value and elegance to any room.
The cost of installing a mahogany coffered ceiling can be higher compared to other wood options, with prices reaching up to $30 per square foot. Painting or staining a mahogany coffered ceiling typically costs around $1 to $2.50 per square foot.
You can often find mahogany coffered ceilings in luxurious kitchens, dining rooms, and living rooms where they add a touch of sophistication and class.
Average Cost of Installing Coffered Ceilings
Installing coffered ceilings comes with a price tag. Here are some key cost factors to consider:.
– The typical range for installing a coffered ceiling is between $3,000 and $4,500.
– On average, a 150-square-foot coffered ceiling costs around $3,750 to install.
– Expect to pay approximately $20 to $30 per square foot for the basic build of a coffered ceiling.
– Keep in mind that material prices for coffered ceilings have increased by 5% to 10% in 2022 due to high demand for building materials.
– If you choose tin tiles as panels, it can add an extra $1,500 to the overall cost.
That’s what you need to know about the average cost of installing coffered ceilings. Now let’s delve into the factors that can influence these costs further.
Factors Influencing Coffered Ceiling Costs
The cost of installing coffered ceilings can vary depending on the materials used, ceiling extras like soffits and trim, and the labor costs associated with installation.
Materials used
Materials used for coffered ceilings can vary depending on your preference and budget. Common materials include drywall, plywood, fiberboard, oak, cherry, walnut, PVC, and mahogany.
Drywall is the most affordable option, with costs ranging from $2 to $3 per square foot. On the other end of the spectrum, real hardwood materials like walnut or mahogany can cost up to $30 per square foot.
Other additional elements such as soffits ($1 to $3 per linear foot) or tin tiles (increasing total cost by approximately $1,500) can also be incorporated for added visual appeal. The choice of material will ultimately influence the overall look and cost of your coffered ceiling project.
Ceiling extras like soffits, tin tiles, medallions, trim and molding, paint and stain, recessed lights, and finials
Adding extras to your coffered ceiling can greatly enhance its overall appearance. Soffits, which are decorative features that cover the underside of an overhanging section, typically cost around $1 to $3 per linear foot.
Tin tiles, on the other hand, can add around $1,500 to the total cost of your coffered ceiling installation. Medallions, trim, and molding are additional decorative elements that can significantly elevate the aesthetic appeal of your ceiling design.
The options for paint and stain also provide a wide range of color choices to customize your coffered ceiling according to your personal style preferences. Recessed lights and finials are other popular extras that can further enhance the beauty and functionality of your coffered ceiling.
Installation costs
Installation costs for a coffered ceiling can vary based on several factors. The size and complexity of the design, as well as the materials used, are key considerations. Larger ceilings require more materials and labor, which can increase the installation cost.
Similarly, intricate designs with numerous beams and detailing may also result in higher costs. Additionally, using high-quality materials such as wood or synthetic options can impact the overall price due to their higher cost compared to other alternatives.
Design Ideas for Coffered Ceilings
– Incorporate LED strip lights along the edges of each coffered square for a modern and dramatic look.
– Paint the recessed areas of the coffered ceiling in a contrasting color to make them pop and add depth to the room.
– Install decorative medallions or rosettes at the intersections of the beams for an elegant touch.
– Add intricate trim or crown molding around each beam to create a more luxurious and sophisticated design.
– Choose different wood finishes or stains for the beams, panels, and moldings to create visual interest and contrast.
Coffered Ceilings Vs. Waffle and Tray Ceilings
In the world of decorative ceilings, coffered, waffle, and tray ceilings all hold their unique charm and appeal.
– Coffered Ceilings: These are characterized by their grid pattern of recessed panels, typically squares or rectangles, framed by beams. The key feature of coffered ceilings is the depth they add to a room, creating an illusion of higher ceilings. They require professional installation and advanced carpentry skills, which can be costly. For instance, the labor costs for their installation range from $10 to $25 per square foot.
– Waffle Ceilings: Similar to coffered ceilings, waffle ceilings also feature a grid pattern. However, the key difference is that all the beams in a waffle ceiling are at the same height, creating a more uniform look. These are often cheaper to install than coffered ceilings as they require less intricate woodworking.
– Tray Ceilings: Unlike the previous two, tray ceilings feature a single large recess in the center, giving the appearance of an inverted tray. This type of ceiling is usually cheaper to install than coffered ceilings, as it involves less detailed carpentry. However, it may not add as much architectural interest to your room as coffered or waffle ceilings would.
All of these options can significantly enhance the aesthetic of your room. However, the choice ultimately depends on your budget, style preference, and the existing features of your room.
DIY Coffered Ceilings Vs. Hiring a Professional
When deciding between DIY installation or hiring a professional for your coffered ceiling project, there are several factors to consider.
Safety considerations
Safety is a crucial aspect to consider when installing a coffered ceiling, whether you choose to tackle the project on your own or hire a professional. As a DIYer, it’s important to plan and measure carefully, ensuring that you have knowledge of electrical wires and plumbing in the ceiling structure.
Additionally, make sure that the existing ceiling can support the weight of the coffered ceiling and any added lighting fixtures or decorations. Don’t forget about proper safety equipment like goggles, gloves, and dust masks to protect yourself during installation.
Lastly, ensure adequate ventilation while working to prevent dust buildup and fumes. Safety should always be a top priority for a successful coffered ceiling installation.
Avoiding mistakes
To ensure a successful coffered ceiling installation, there are a few mistakes you’ll want to avoid. First, make sure to measure and plan the layout properly. This will help prevent any miscalculations or uneven spacing between the beams.
Another mistake to steer clear of is using incorrect materials or tools for the project. Using the right materials and tools will not only make the installation easier but also ensure a more durable and professional-looking result.
Additionally, it’s crucial to consider the weight of your coffered ceiling before installing it. Ensure that your ceiling can support the additional weight to prevent any structural issues down the line.
Equipment needed
To successfully install a DIY coffered ceiling, you will need some essential equipment. These include a tape measure to ensure accurate measurements, a miter saw and table saw for cutting the wood or other materials, a nail gun for secure attachment, a level to ensure everything is straight and even, clamps to hold pieces in place during installation, and a stud finder to locate the structural supports in your ceiling.
Having these tools on hand will help make your coffered ceiling installation go smoothly and ensure professional-looking results.
It’s important to note that basic carpentry skills are required for this project. If you’re new to woodworking or unsure about any step of the process, there are plenty of online tutorials and guides available that can provide guidance.
Safety should also be a top priority when working with power tools – always wear protective gear such as safety glasses and gloves, and follow proper technique to prevent accidents.
Speed of project completion
Installing a coffered ceiling can be quite time-consuming, especially if you decide to do it yourself. The speed of project completion for DIY coffered ceilings can vary depending on the complexity of the design and your experience level.
It’s important to note that hiring a professional to install a coffered ceiling can significantly speed up the project completion time. Professionals have the necessary skills and expertise to efficiently complete the job.
So, if you’re looking for quicker results, it may be worth considering hiring a professional for your coffered ceiling installation.
Conclusion
In conclusion, installing a coffered ceiling can add elegance and architectural interest to any room. While the cost of installation varies depending on factors such as materials used and additional decorative accents, the average cost ranges from $3,000 to $4,500.
Whether you choose to DIY or hire a professional, it’s important to consider safety precautions and avoid mistakes during the installation process. With proper planning and attention to detail, a stunning coffered ceiling can enhance the beauty of your space for years to come.
FAQs
1. How much does it typically cost to install a coffered ceiling?
The cost of installing a coffered ceiling can vary depending on factors such as the size of the room, the complexity of the design, and the materials used. On average, homeowners can expect to spend between $10 and $30 per square foot for installation.
2. What factors can affect the cost of installing a coffered ceiling?
Several factors can impact the cost of installing a coffered ceiling, including the type and quality of materials chosen, any additional structural modifications required, labor costs in your area, and any customization or intricate designs desired.
3. Are there any additional costs involved besides installation?
In addition to installation costs, homeowners should also consider potential expenses for removing existing ceilings or making structural changes if needed. Other expenses may include purchasing molding or trim for finishing touches and hiring an electrician if you plan on adding recessed lighting within the coffers.
4. Can I save money by DIYing a coffered ceiling installation?
While some skilled homeowners may attempt a DIY approach to save money on labor costs for installing a coffered ceiling, it is generally not recommended unless you have prior experience with similar projects. Improper installation could lead to costly mistakes or compromise structural integrity, so hiring professional contractors is often worth considering for best results.
5. Do coffered ceilings add value?
Coffered ceilings can definitely add value to your home. They bring a touch of elegance and sophistication to any room, making it more visually appealing and attractive to potential buyers.
Additionally, coffered ceilings create the illusion of height and depth, making the space feel larger and more spacious. This architectural feature adds a sense of luxury and craftsmanship that can elevate the overall aesthetic of your home.
With their timeless charm and ability to enhance the beauty of a room, coffered ceilings are considered a desirable feature that can potentially increase your home’s value.
6. Do coffered ceilings make a room look smaller?
Coffered ceilings have the potential to make a room look smaller or larger, depending on their design and placement. The illusion of depth and height created by coffered ceilings can actually make a room appear larger than it is.
However, the overall size of the coffered ceiling and the size of the individual coffers can also affect how spacious the room feels. In addition, using lighter colors for the coffered ceiling can help create a more open and spacious feel in the room.
So while coffered ceilings can add architectural interest, they don’t necessarily make a room look smaller if designed thoughtfully.
7. How tall should coffered ceilings be?
The height of coffered ceilings can vary depending on personal preference and the characteristics of the space. Generally, coffered ceilings are designed to create an architectural statement and add depth to a room.
A common height for coffered ceilings is around 9 feet, but they can be higher or lower depending on factors such as ceiling height, room size, and desired aesthetic. It’s important to consider the overall proportions of the space and how the coffered ceiling will fit into the design scheme.
Ultimately, the height of your coffered ceiling should complement your overall vision for the room.
8. Do coffered ceilings help with sound?
Coffered ceilings do not have a significant impact on sound transmission or noise reduction in a room. The design and construction of coffered ceilings primarily focus on aesthetics rather than acoustics.
If you’re looking to improve sound quality within a space, other options such as acoustic panels, insulation, or soundproofing materials would be more effective.